
Our basement included (ugly) fixed shelves when we moved in…. Time to upgrade! Step one was removing the old shelves and prepping for the new. Which was harder than it sounds since the original custom shelving tightly fit the space with no vertical clearance for removal.
I removed the molding (be sure to pre-cut the caulk!) and walked the center shelving unit out with a small crowbar until it cleared the shelving on the sides. Then demolition, and repeated work for the side shelves.
Next was carpet / padding / tack strip / nail / baseboard removal and cleanup.
Then I built a platform for the new shelves: Two rows of 4x4s shimmed to create a slight slant towards the wall. Then capped off with pine 1x12s and screws that I harvested from the original shelves.
I’m going to “cheat” with the new shelving: I plan to install 5 IKEA BILLY / OXBERG units (full glass doors). But no fear! By the time I add molding, etc. they’ll look like custom built-ins. But I’ll gain doors, easy shelf adjustments, and glass shelving options ;-). Future blog postings will include that, assuming IKEA manages to stock the book cases (which are often delayed)!
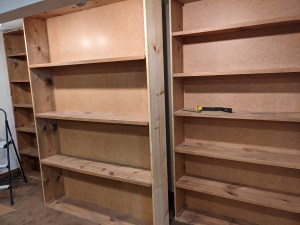
Middle shelving unit pulled away from wall using a small crowbar and walking it out from both sides.
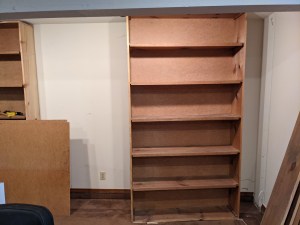
Middle shelving unit removed. Walking out the shelves on the right.
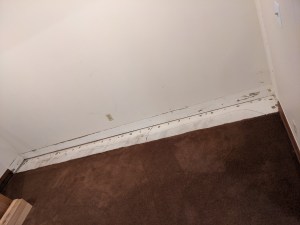
Shelves removed and area cleaned up!
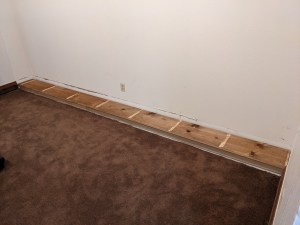
Platform built and ready to go!

Wow! No other words other than that is the way the collection should be presented and how Dad started off before it got too large!!! Way to go!
LikeLike