
Background: See “Stairs: Part 1: Demolition Right“
No new tools this time. Just measuring, snapping, hauling, fitting, and drywall screws.
I measured and snapped the drywall in the garage where I had room to work. I ran a utility knife along the edge of an aluminum drywall T-square on the finished side, used my knee on the backside to bend the drywall at an angle, then cut the back side along the crease with the utility knife (standard methodology; nothing new here). I subtracted 1/4 inch from the measured dimensions since the snaps leave some residual bits extending beyond the cut line.
Then I enjoyed a leisurely stroll from the garage to the stairs carrying an awkward, heavy chunk of drywall for placing and securing with drywall screws (translation: I was sore and exhausted by the end of the day!).
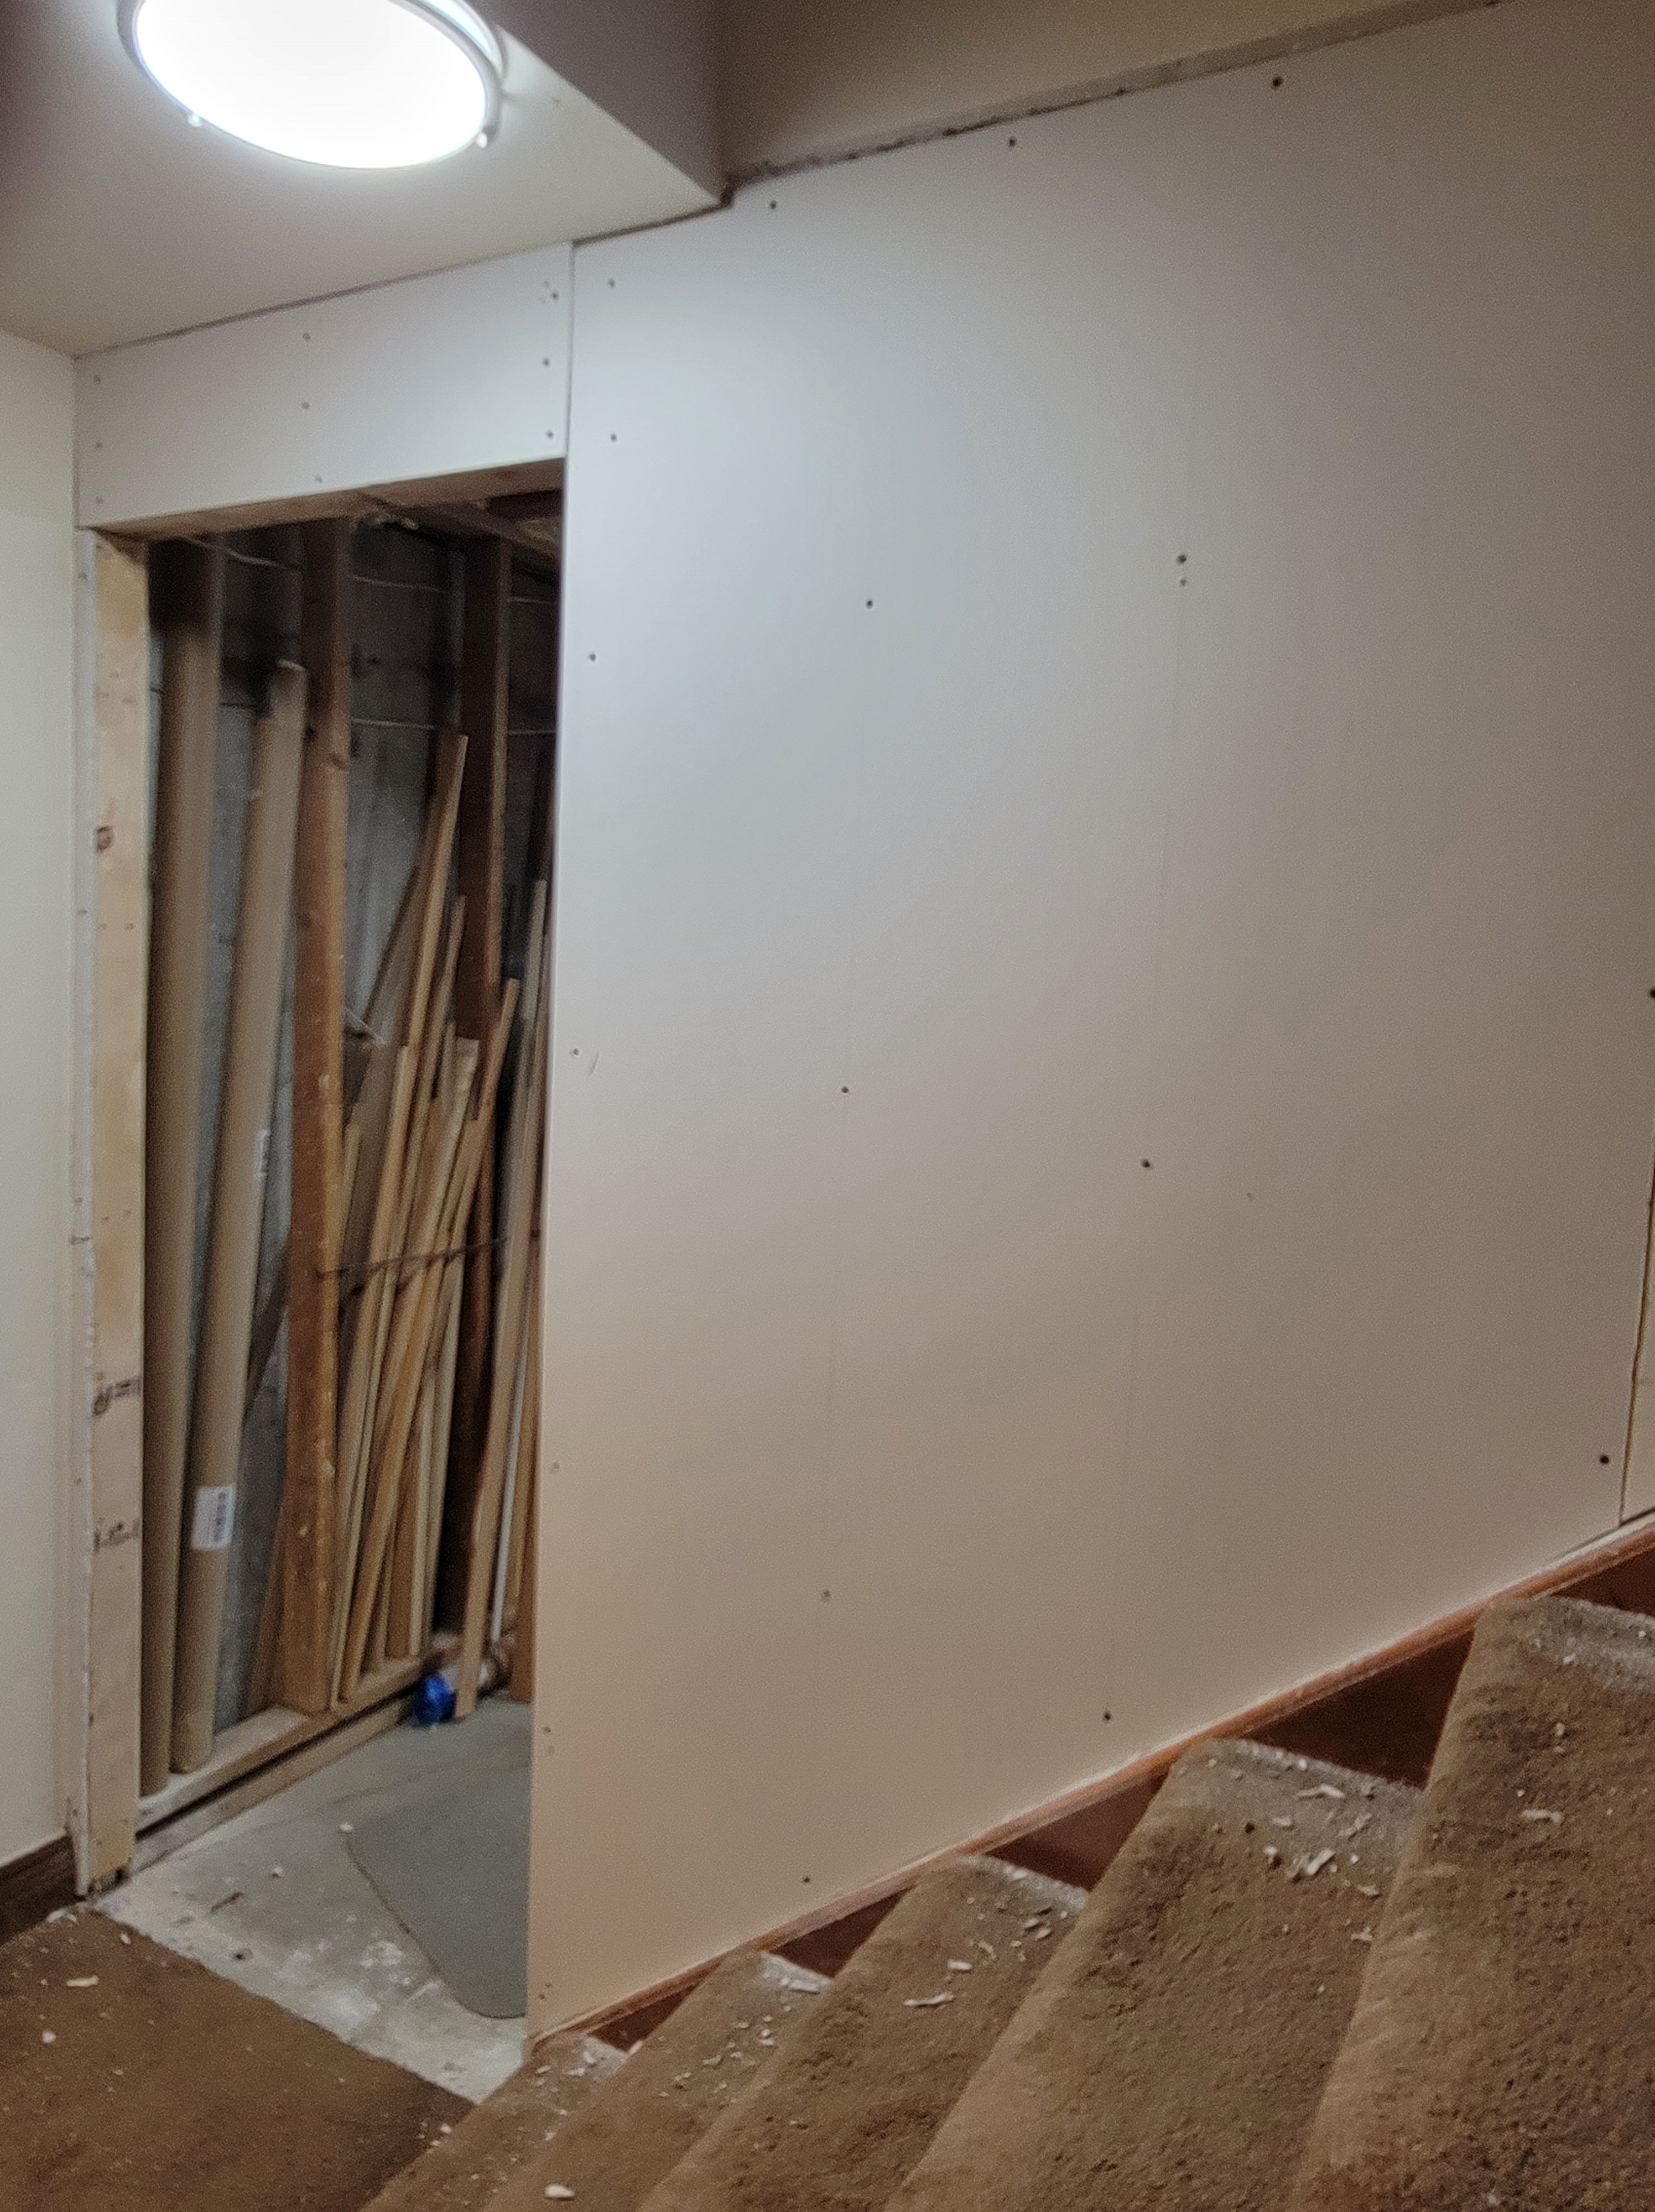
Of course I didn’t properly measure the largest piece (above the stairs on the bottom, aligned with the door opening). The piece was difficult to place since the ceiling light and overhang were in the way. I tried removing more drywall along the top edge multiple times using a utility knife and the sharp side of a small pry bar. After a number of tries (which included removing the piece and reshaping on the carpeted floor) I finally got the piece in position. It looked terrible, however, with edges that weren’t flush and/or rough along the edge. I took new measurements based on the results and started over with a new sheet. Happily the second piece fit perfectly! Finally a smile until I saw the dust and chunks of removed edge all over the carpet. Shrug, then another smile.
Some details on the work itself:
- I screwed temporary shims on the door frame to align the drywall. They served as stops along the framing’s edge that aligned the sheet. They worked great, especially since they served as another pair of eyes while I concentrated on screwing down the right side.
- The tape and mud will fill gaps between the sheets. Rough is fine as long as the pieces lay flat and the gaps are reasonable.
- When the piece doesn’t fit, start by re-measuring rather than altering. You may be altering the wrong edge, etc. Measuring will help to determine the defect’s root cause.
Programming Note: I’m hiring a contractor to mud and texture. I’ve done this in the past; I can mud but texturing requires skill and tools that I’d rather not deal with. The next post will be delayed since it’ll depend on the contractor’s availability.
Photos of the finished placed sheets are below:

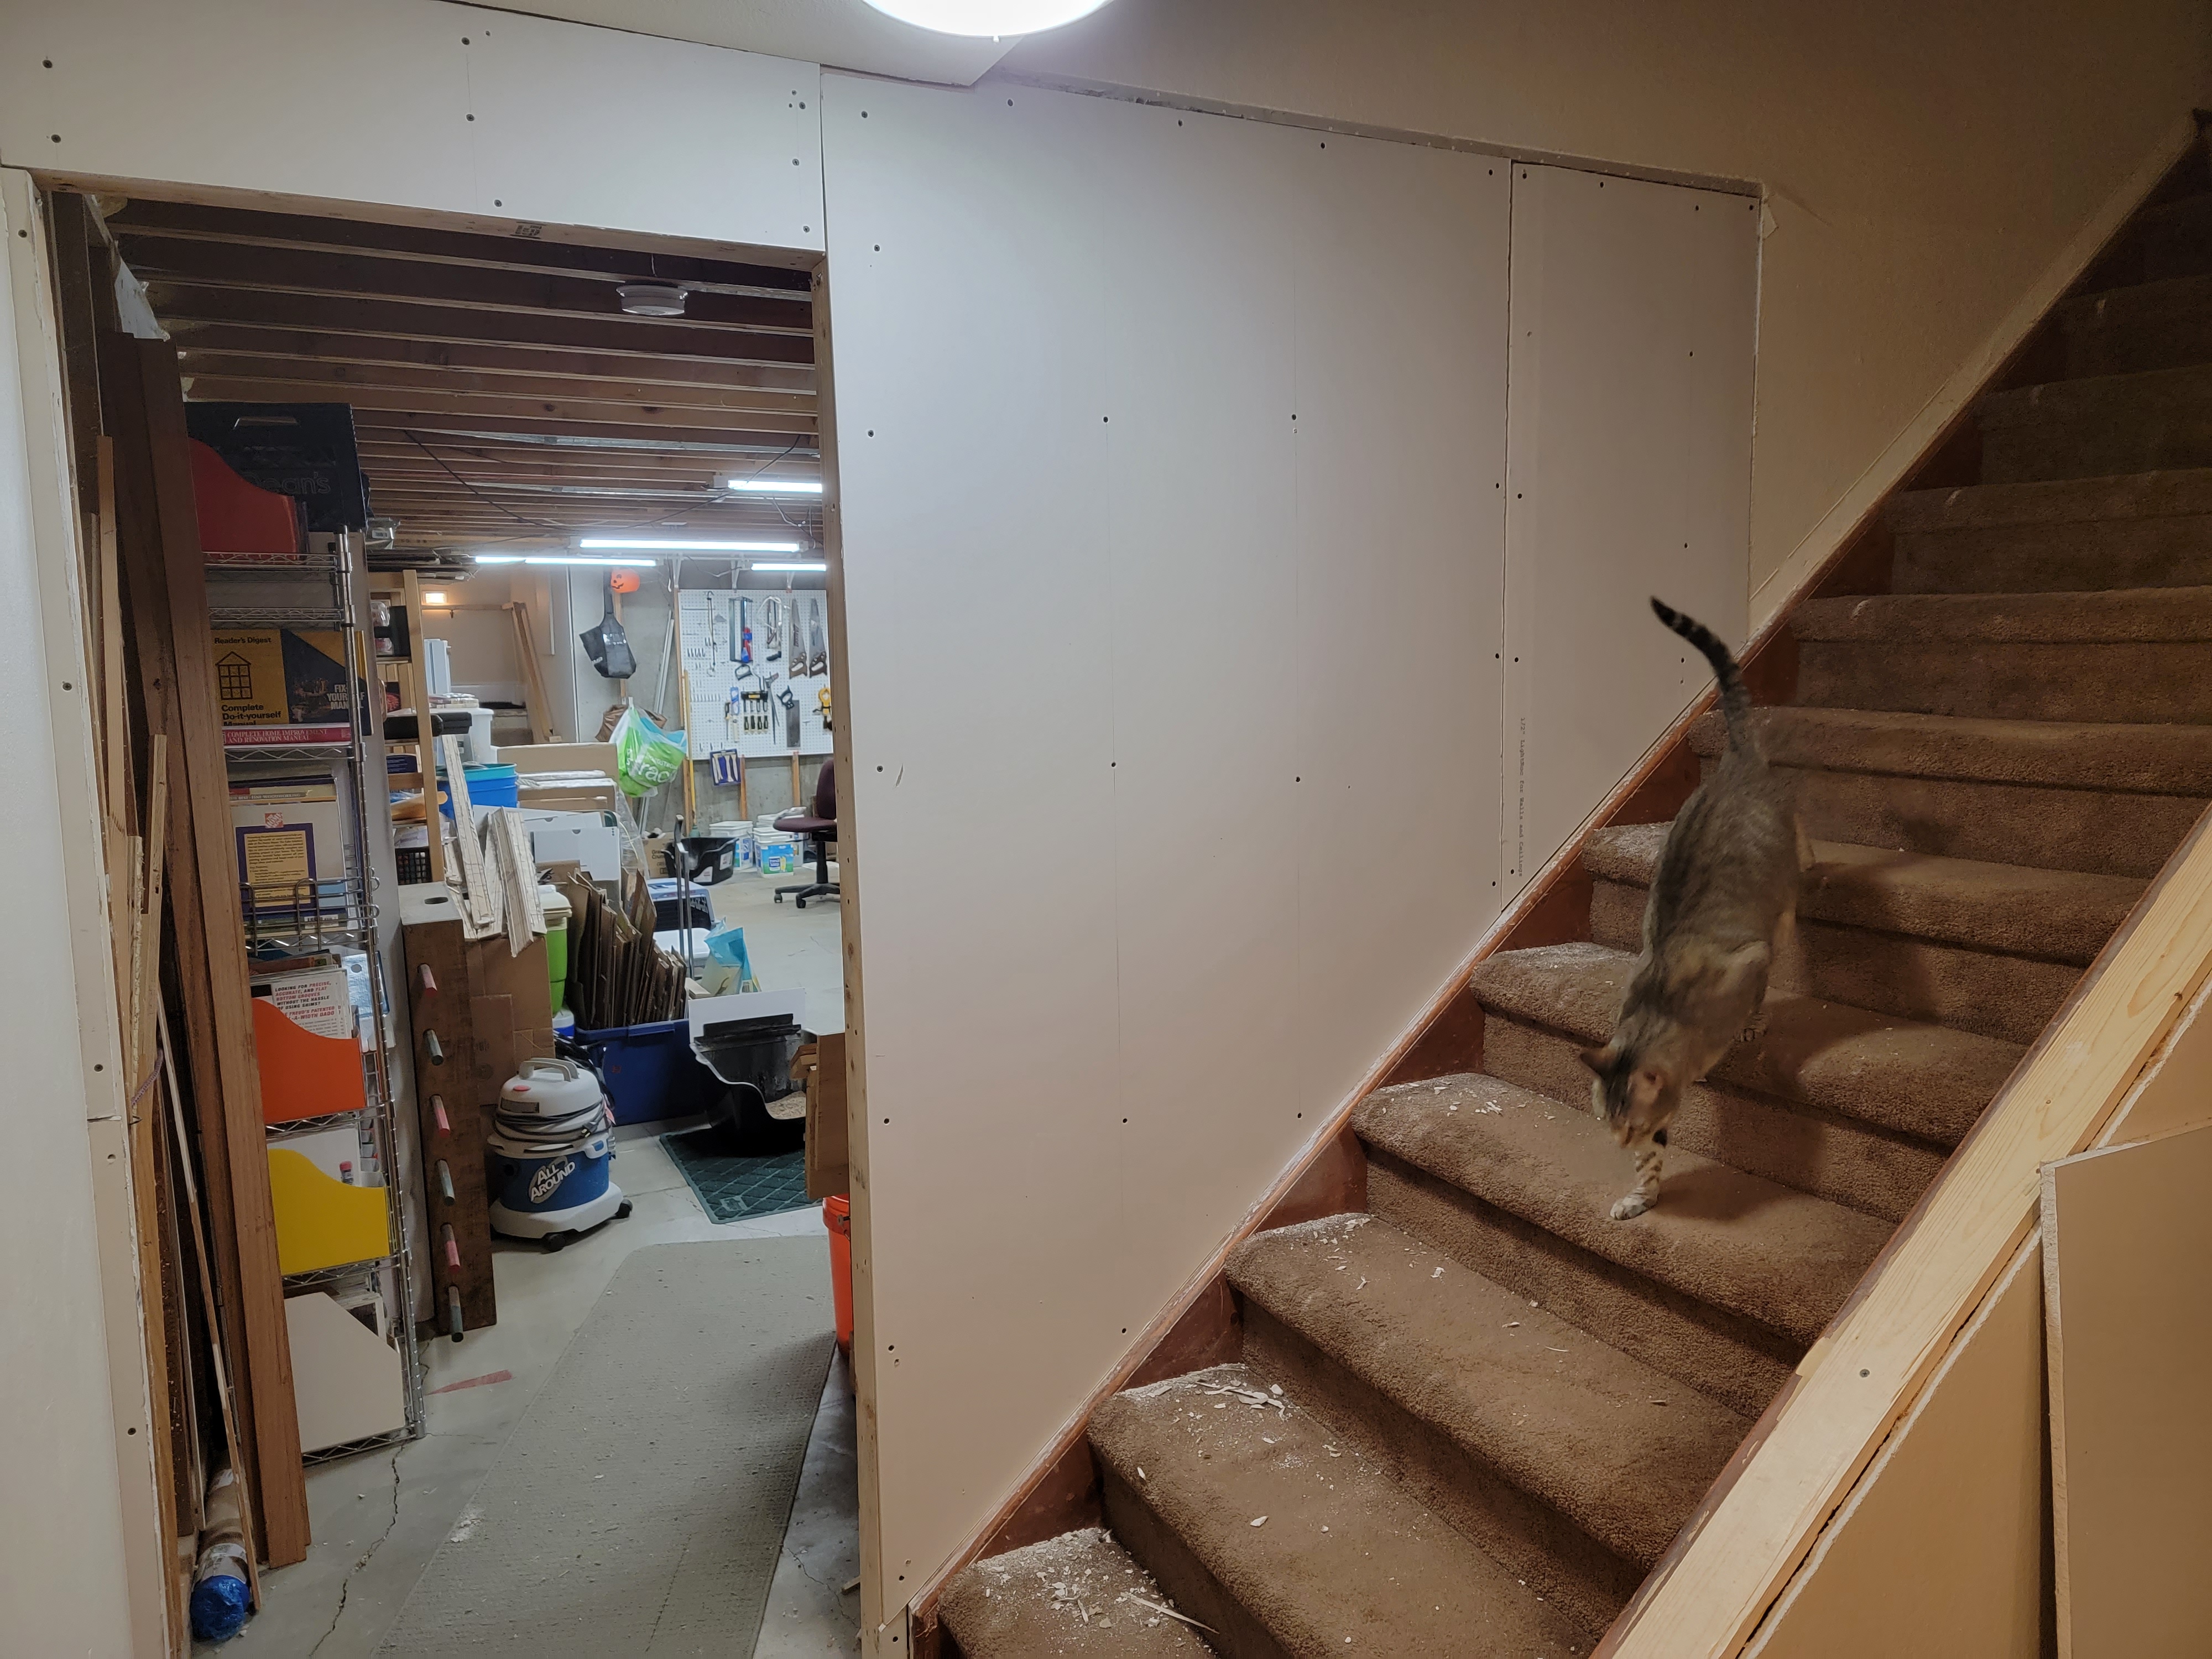

Looking good! And great shot with Widget sneaking into the frame
LikeLiked by 1 person