
Background: See “Stairs: Part 1: Demolition Right“
The new wall at the base of the steps includes a new prehung door for entry into the unfinished basement area (aka, my workshop). I framed for the door in “Part 3“; unfortunately I didn’t measure correctly and I almost had a lot more work on my hands! But more on that below…. 😉
I used some fairly basic steps in hanging the door. An image for identification:
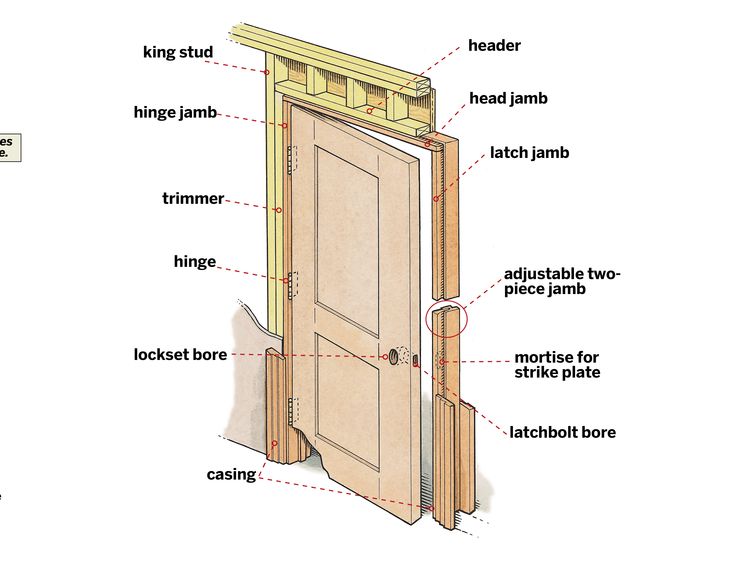
- Position the pre-hung door (with jambs) into the framed opening to check the fit.
- Dang! I didn’t leave enough height for the header. I measured for the door and forgot to include height for the head jamb.
- Remove the door from the hinge jamb by removing the hinge pins.
- Apply an inner and outer bar clamp to the base of the hinge and latch jambs to maintain the shape of the jambs (don’t rip the hinge or latch jambs from the head jamb).
- Use a chop saw to trim the bottom of the latch jamb (about 1/8″ in this case).
- Position the connected jambs into the framed opening (remove the bar clamps upon placement). The front of the jambs should be flush with the outer drywall.
- Use a framing level (DWHT43079) to ensure the hinge jamb is perfectly vertical.
- Position shims between the hinge jamb and stud to maintain the vertical position. Hint: apply one shim from the front and one from the back to achieve a flat (not wedge-shaped) spacer between the hinge jamb and stud.
- Screw the hinge jamb into the stud (passing through the shims). Hint: Countersink the screws and pre-drill first! Also re-check your level and shim positions before drilling.
- Place the door onto the hinge jamb by re-inserting the hinge pins.
- Position the latch jamb by a) ensuring it’s vertical with your level, and b) ensuring there’s a consistent gap between the door and the jamb (not too tight!).
- Secure the latch jamb to the stud (same steps as the hinge jamb).
- Sigh. If the door doesn’t remain fully closed (it opens a bit when you let go):
- Check the hinge screws to make sure they’re tight.
- The door is probably too tight against the hinge jamb. Determine where that is and place a few pieces of paper under the jamb-side hinge plate at that location.
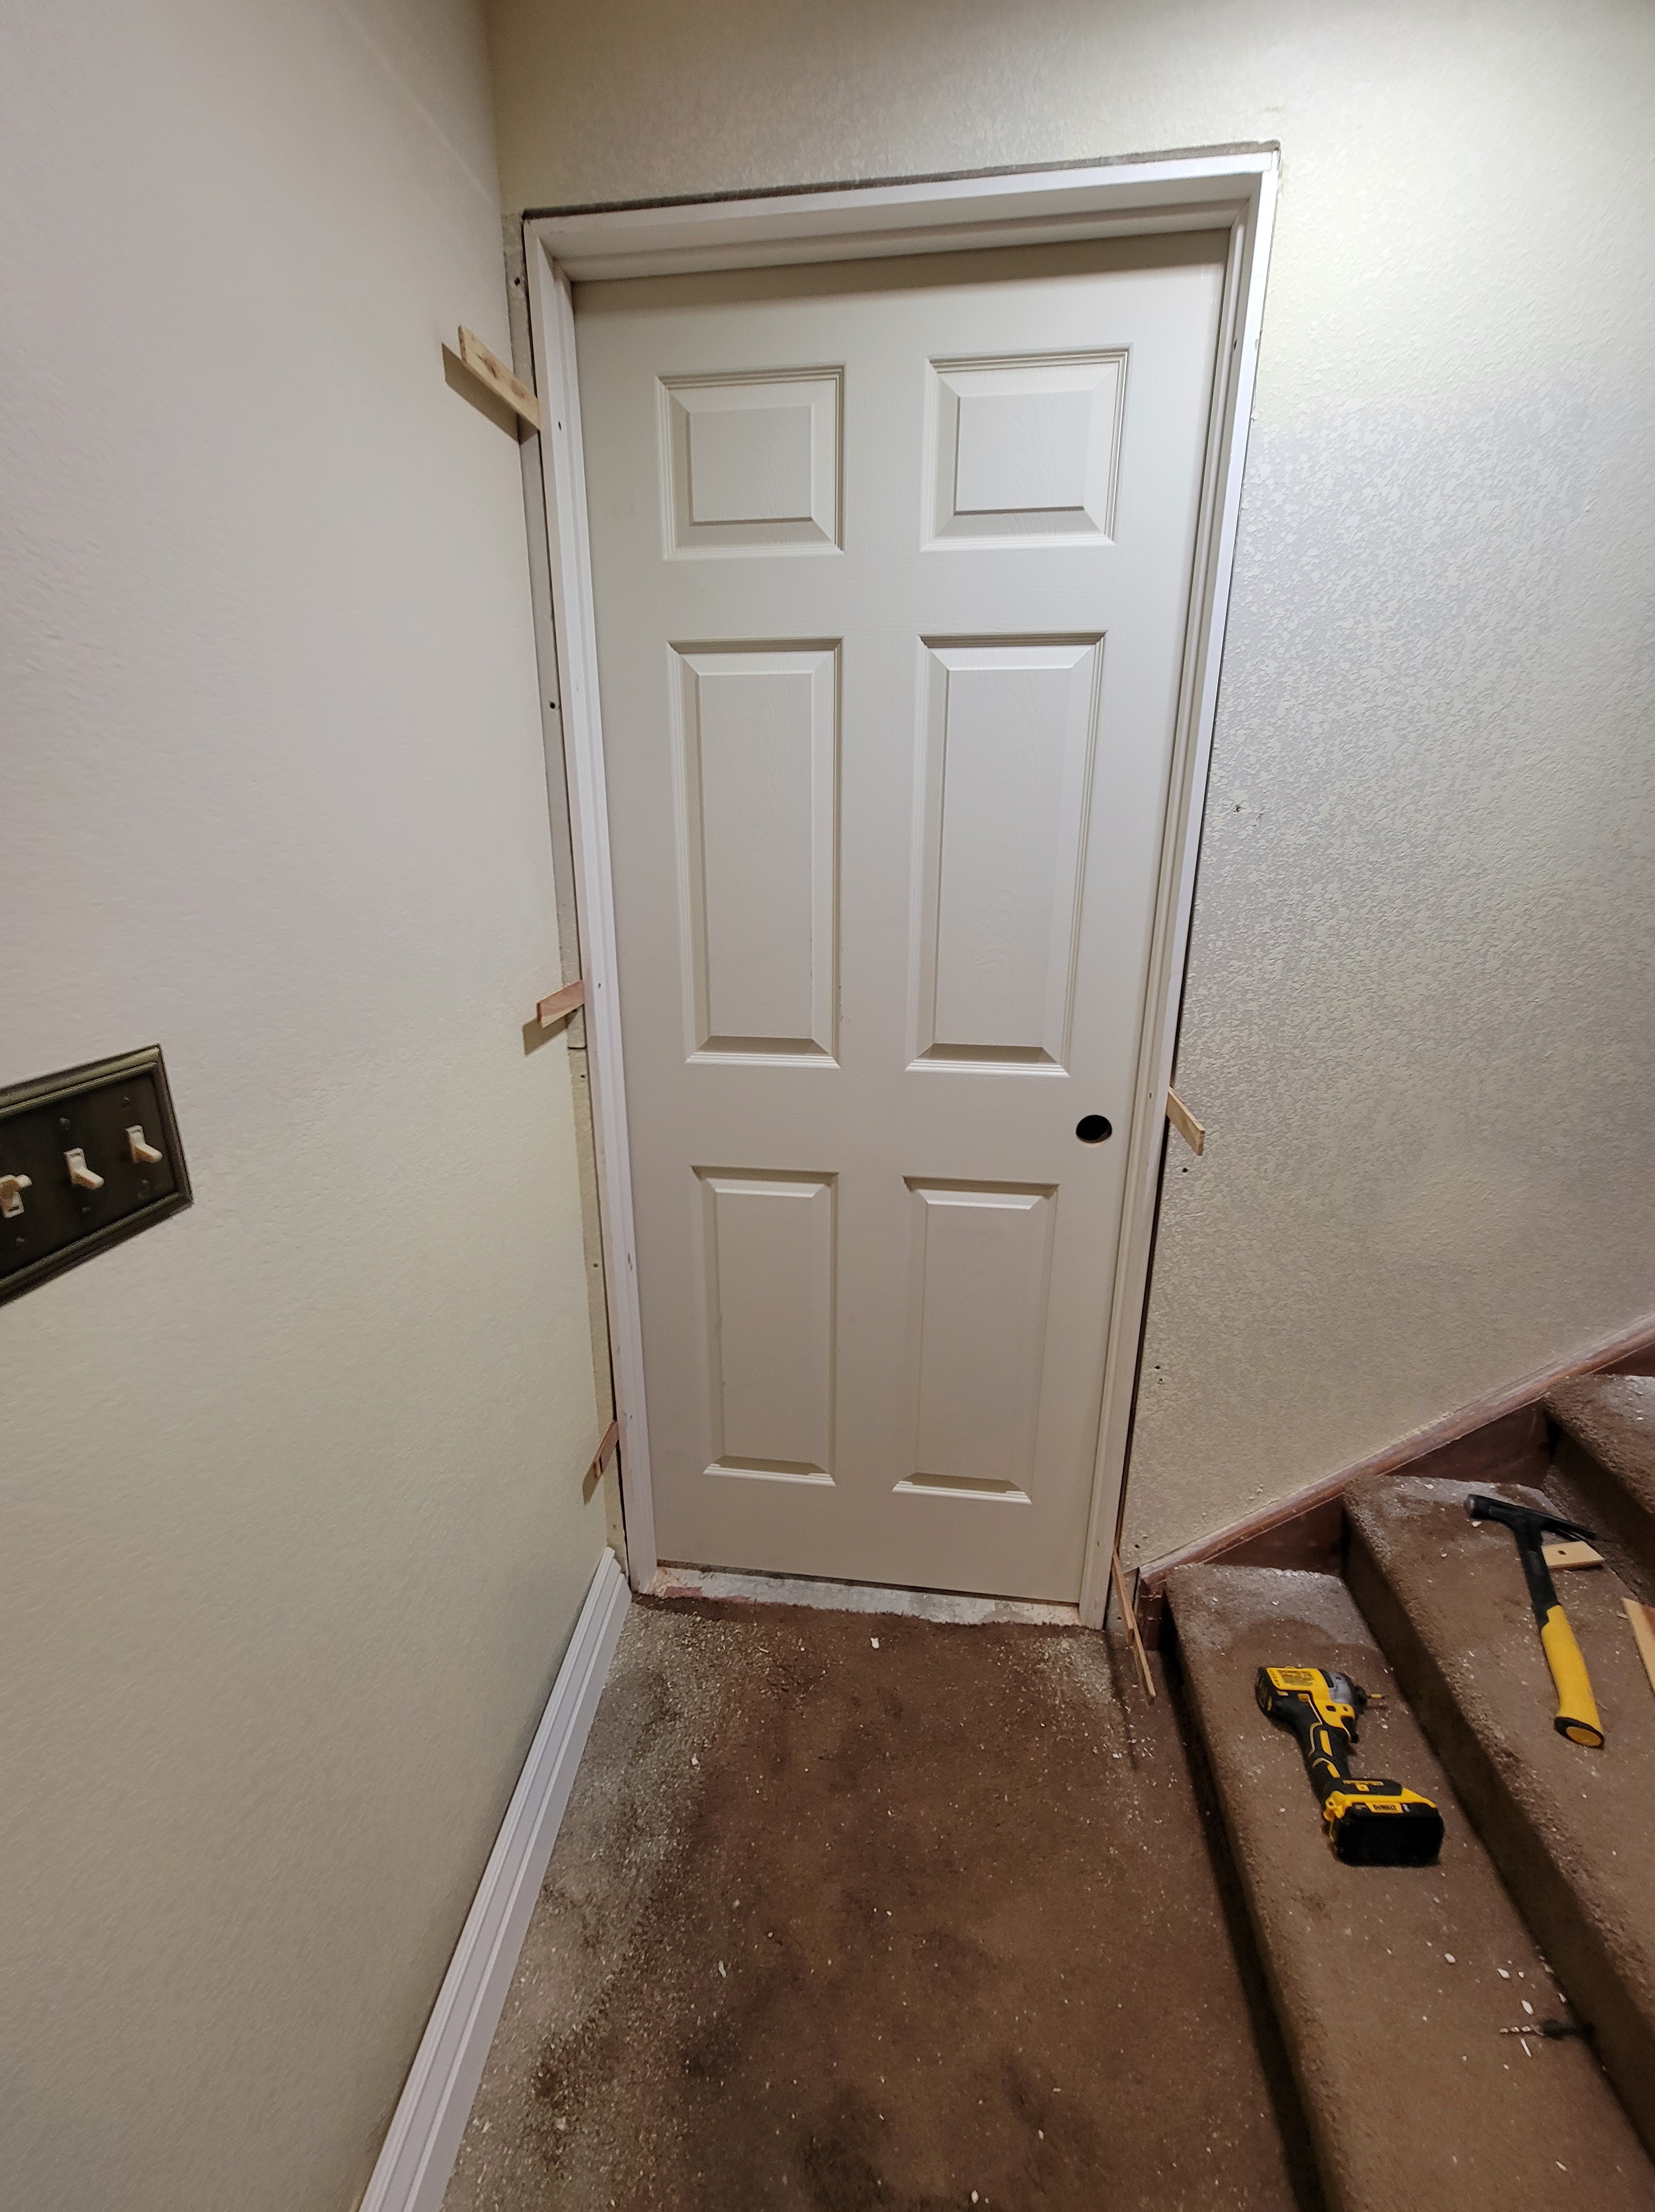
So it’s looking good at this point. One problem. The hinge and latch jambs are resting on the floor since the header wasn’t high enough! That will be a problem since the house will continue to settle. No problem! Grab your oscillating tool (DWE315K) with a good wood-cutting blade. Use a spacer (I used a spare ceramic tile) between the floor and tool blade for a consistent, controlled height off the floor.
I already added molding, but I’ll cover that in Step 7 🙂
Photos of the door progression are below:

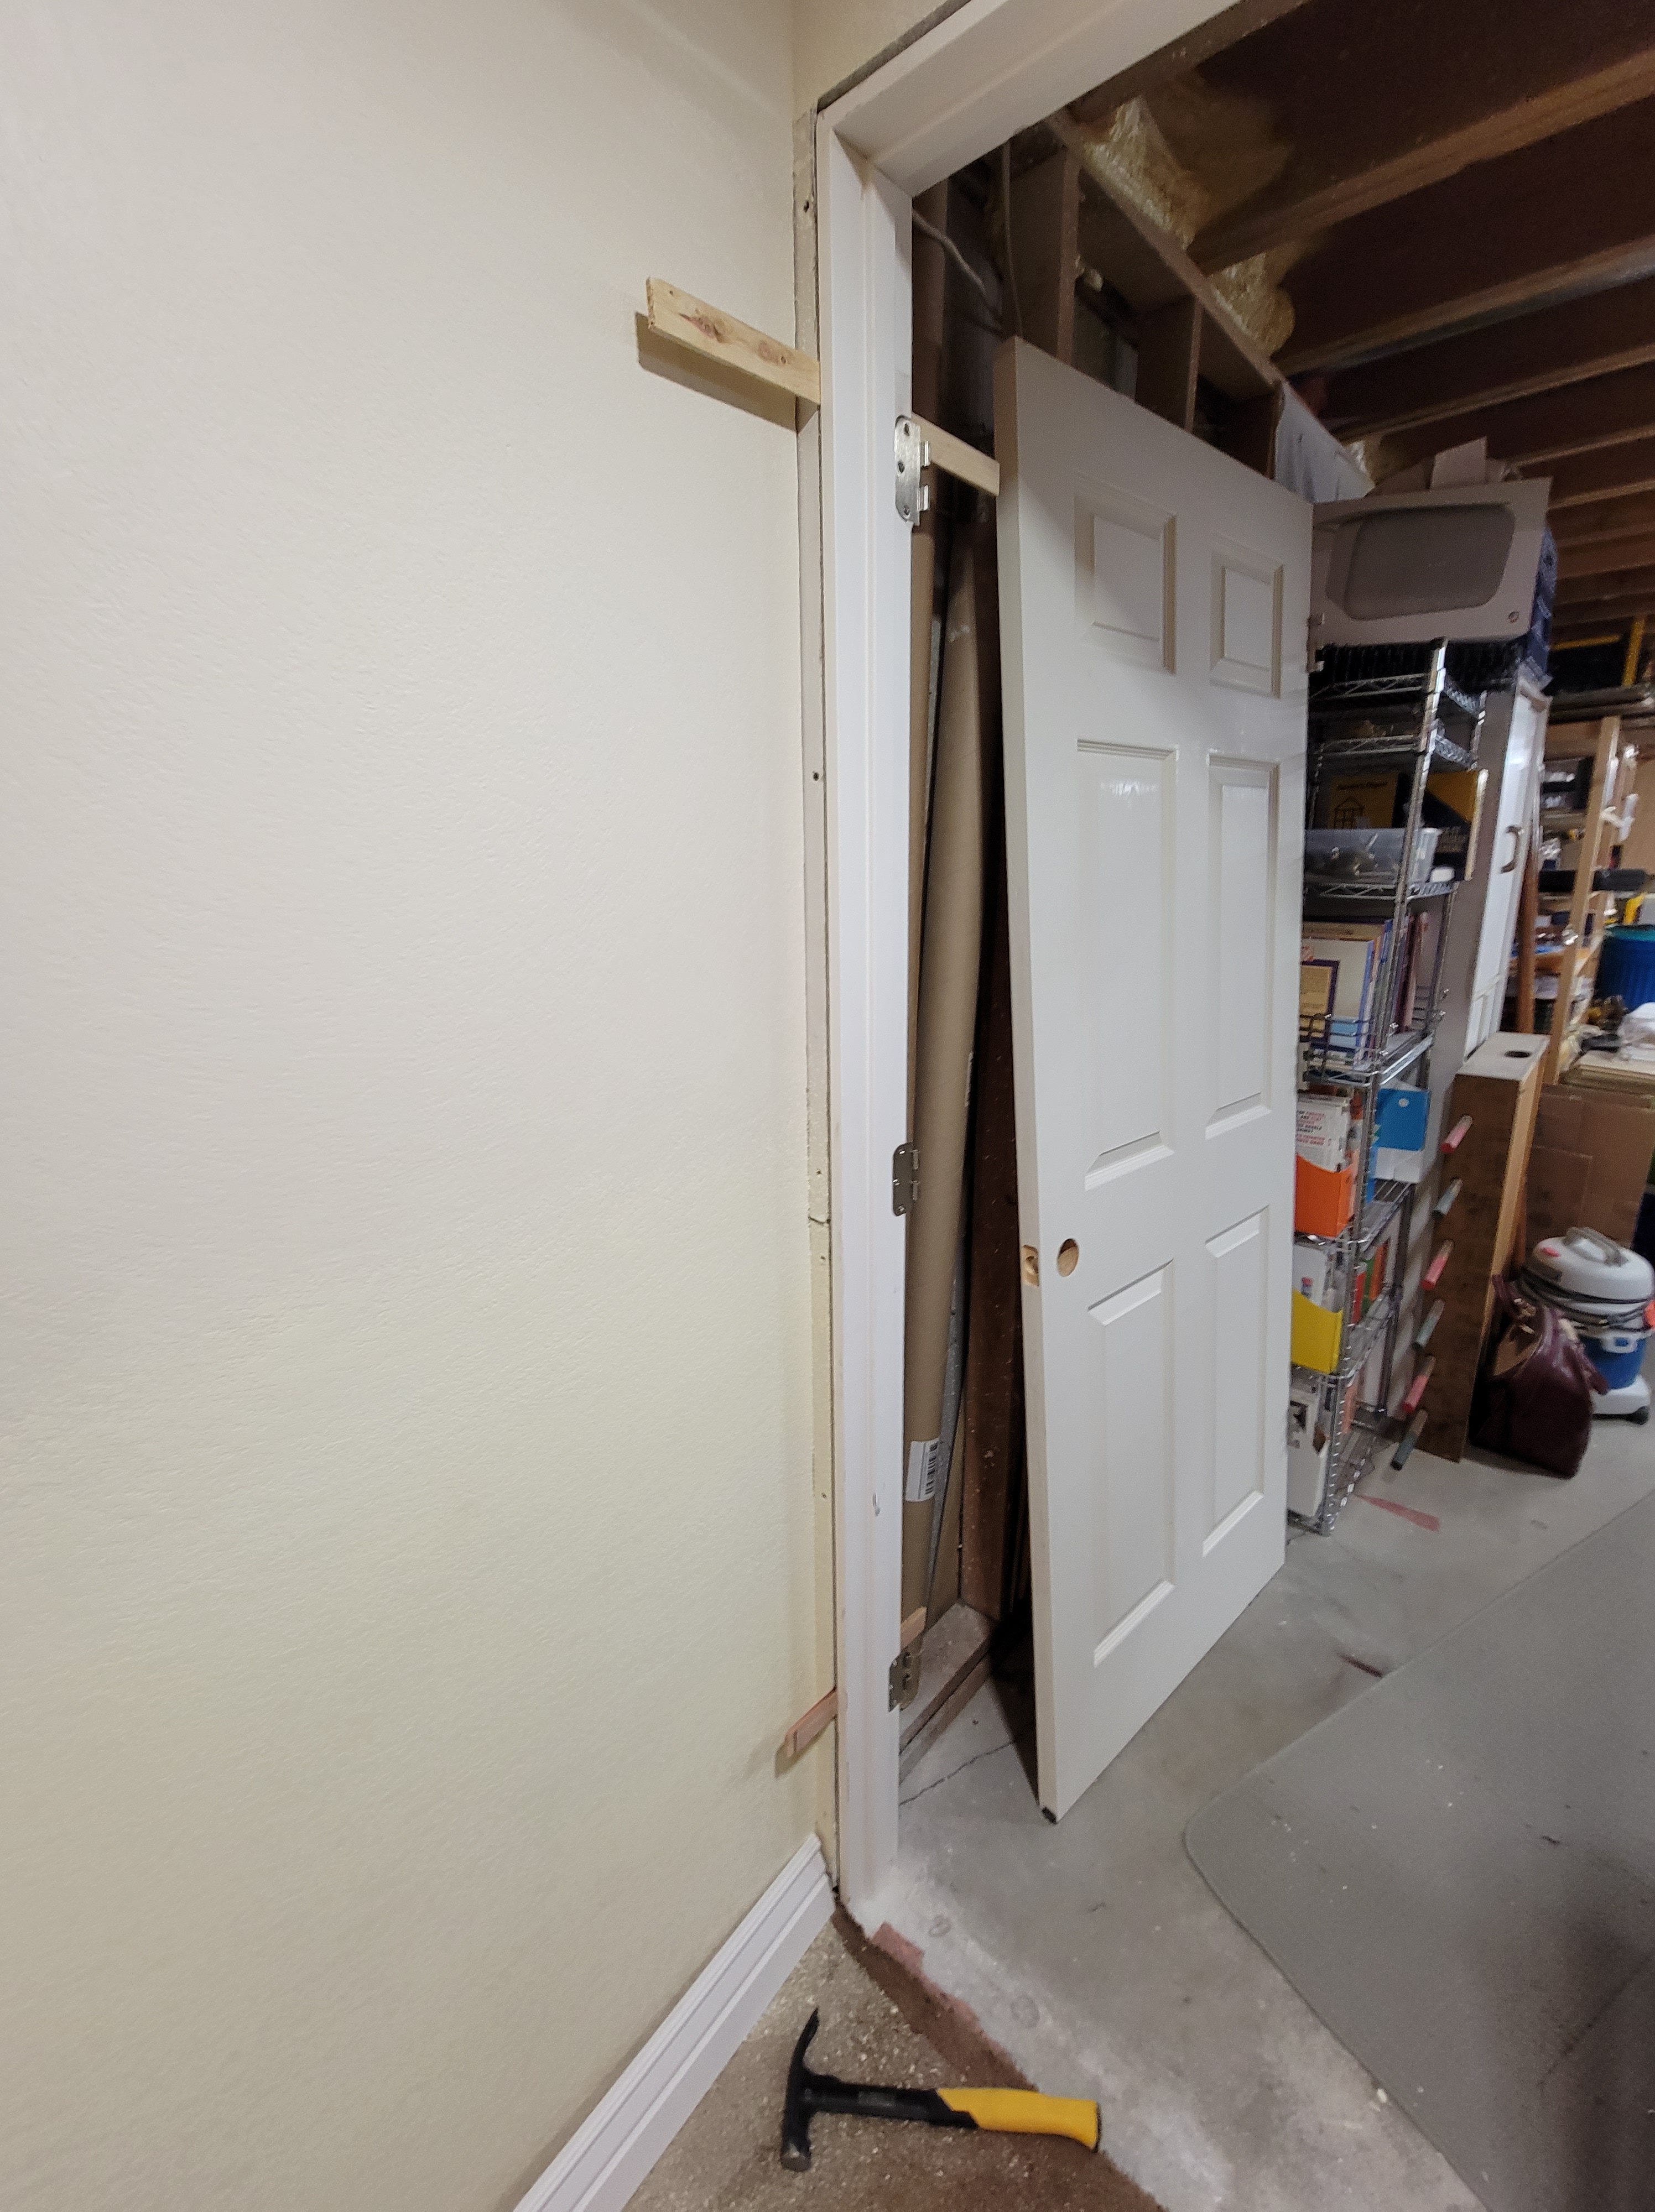

Is that door big enough to get supplies and equipment in and out of your workshop?
LikeLike