Background: See “Stairs: Part 1: Demolition Right“
Door Anatomy Diagram: See “Stairs: Part 6: Door Hanging“
Now we’re in the home stretch! It’s time to add the casings to the door and baseboards on the floor!
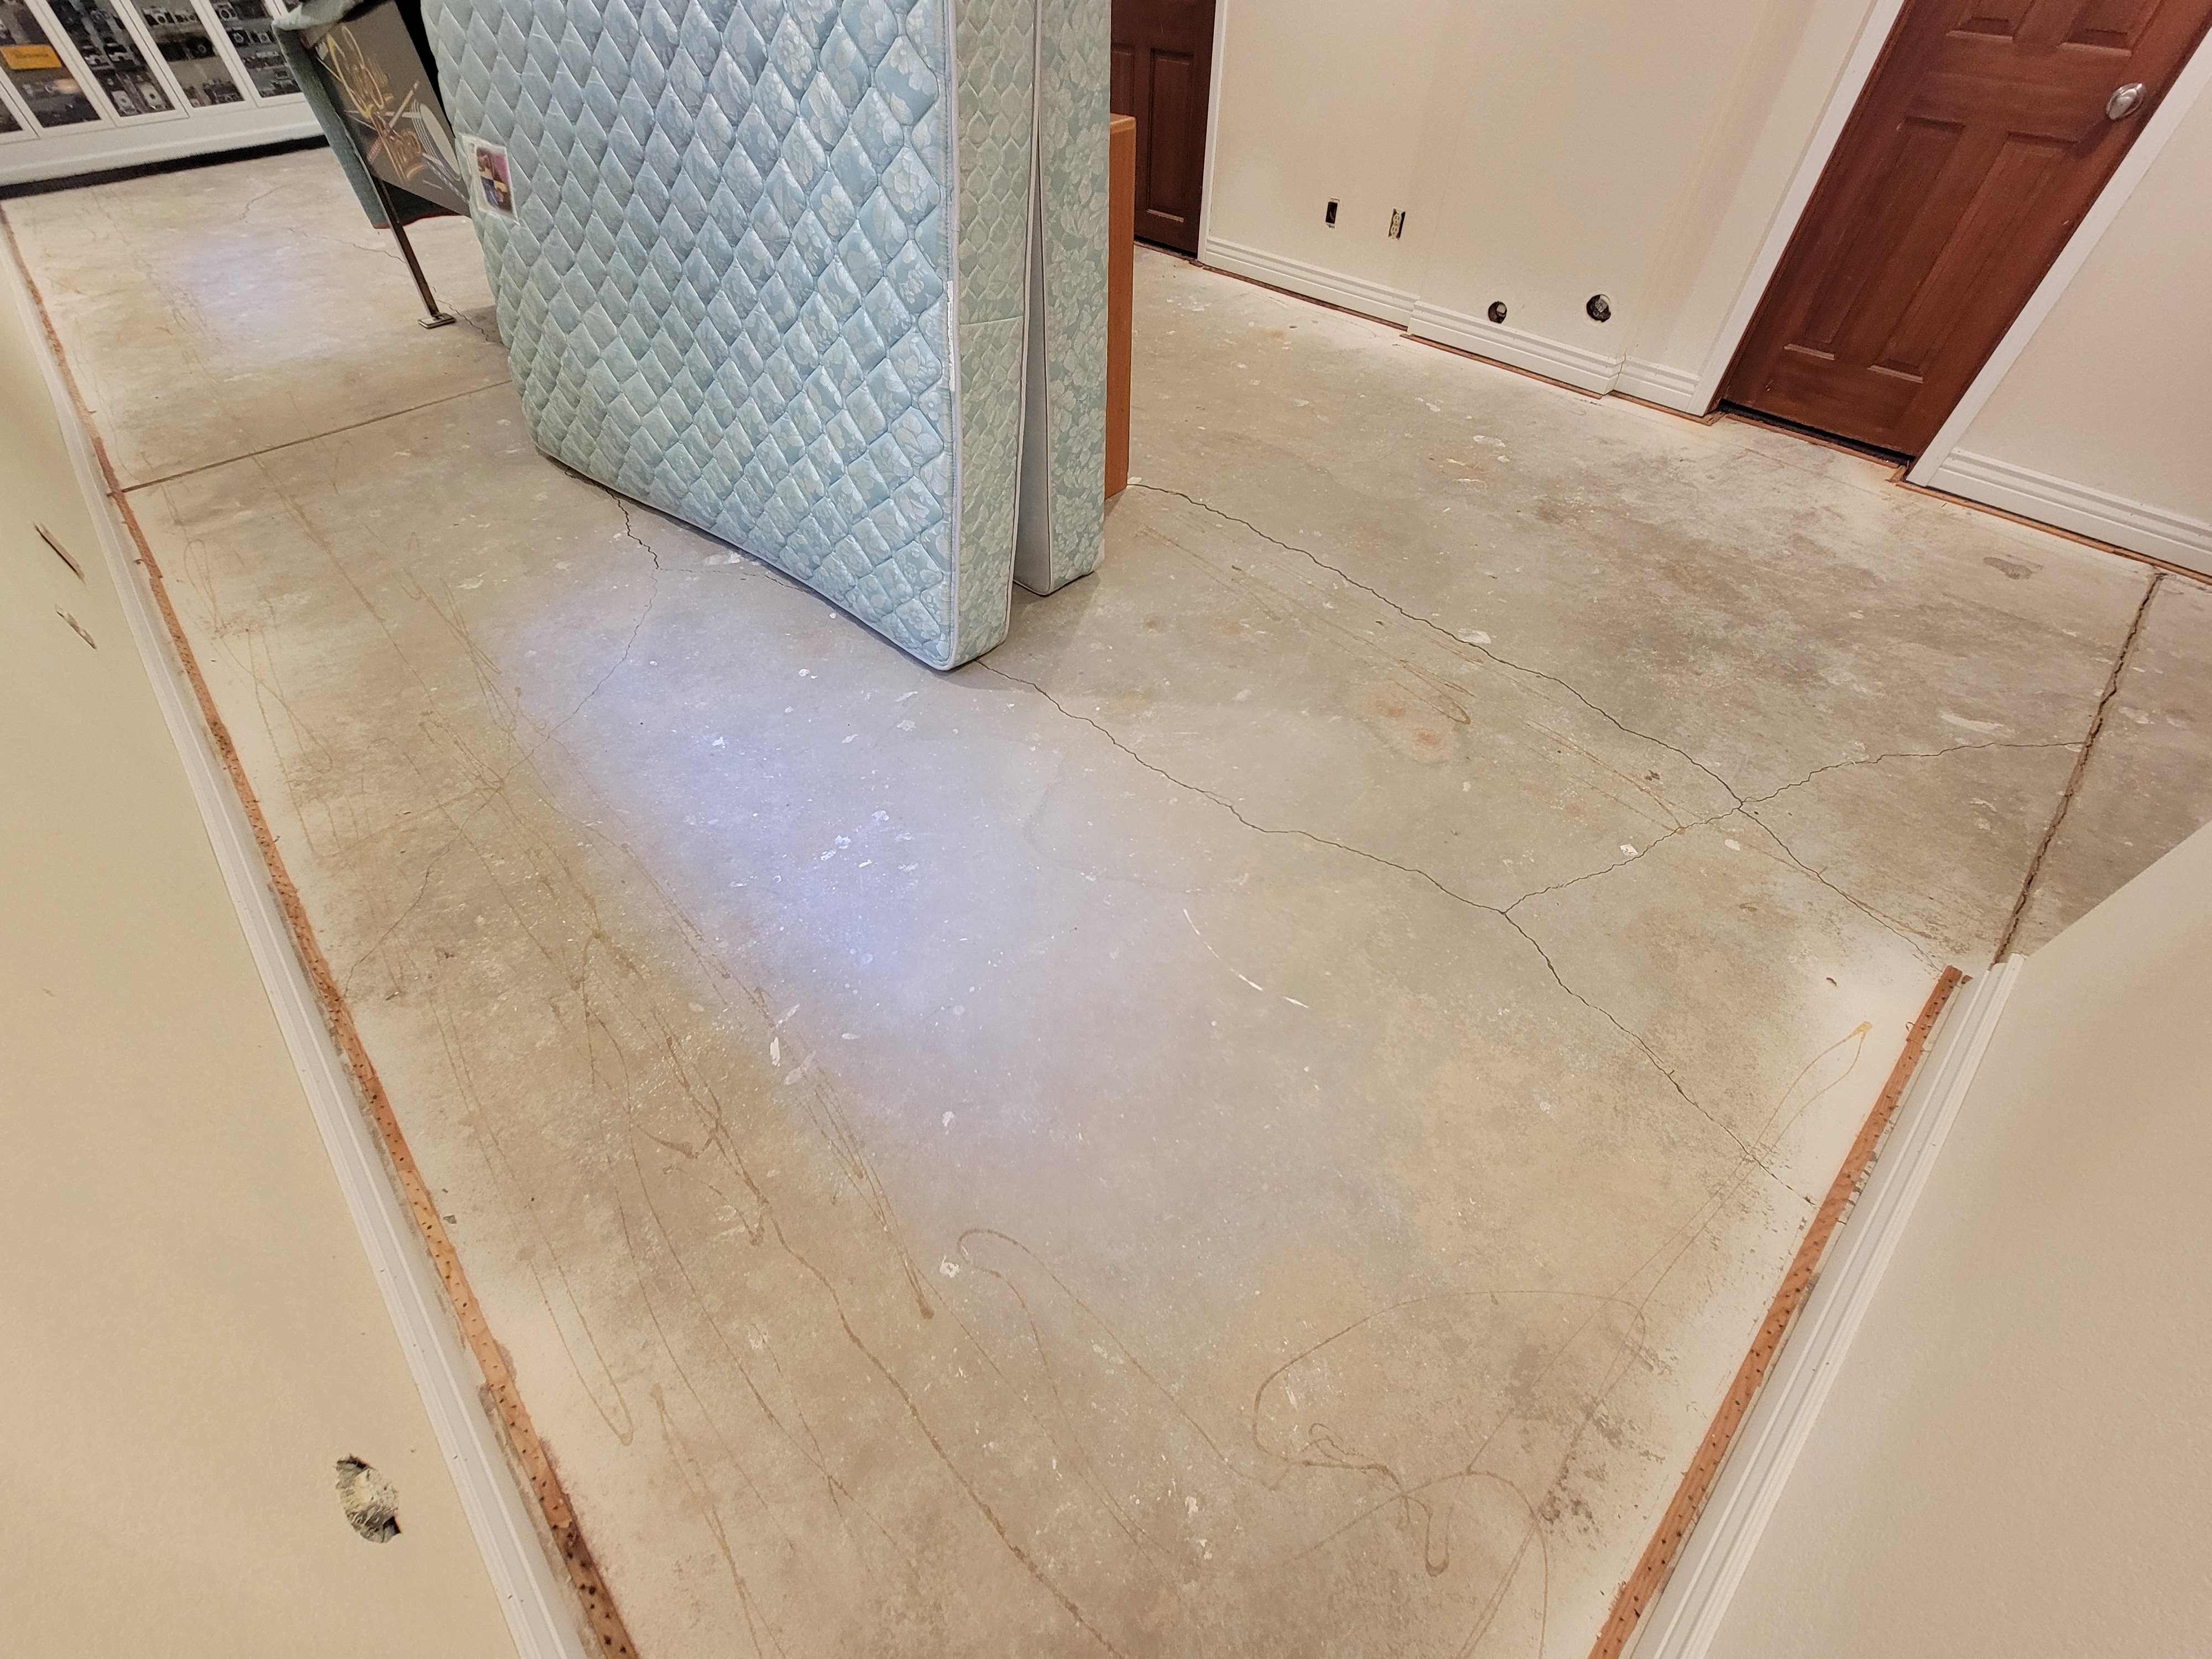
Baseboards: I’m adding baseboards to the entire basement. Why? The previous owner carpeted the lower few inches of the walls AND installed baseboards above that. It truly was wall-to-wall carpet! Baseboard installation was tricky since the pending new carpet requires 3/8″ gap for the carpet. I didn’t sweat perfect miters: the walls are uneven from top-to-bottom at at the angles (experience shows caulk solves all). Thus:
- I cut eight 3/8″ spacers from molding scrap with my Bosch GCM12SD miter saw (which I highly recommend, btw).
- I straight cut all of the 4 1/2″ wide baseboard in my garage 2″ longer than needed. This made carrying to the basement and handling much easier.
- For inner-inner 45 degree miter cuts (in both corners), I measured from the corner to some arbitrary mark on the wall, then measured from the other corner to that same mark (thus getting an accurate measurement without dealing with the tape width itself).
- For outer 45 miter and straight cuts I placed the opposite end into the corner, etc., and marked the board directly at the cut point.
- I laid the spacers on the floor and placed the baseboard on top of them
- I checked for level and made a pencil line along the top edge of the baseboard. Yes, this seems unnecessary, but the carpet tack is still on the floor and needs to remain. If I didn’t remove the spacers before nailing I wouldn’t have been able to remove them!
- I used my stud finder to mark stud locations on the wall. I’m painting later, so pencil marks are fine.
- I removed the baseboard and got the spacers out of the way, then laid the baseboards back in place.
- I held the baseboard up to the line and nailed it in place at the stud locations using my DeWALT D51257K finishing nailer with 2 in. x 16-Gauge Straight Finish Nails. I only nailed the top half of the baseboard since we have floating walls in the basement.
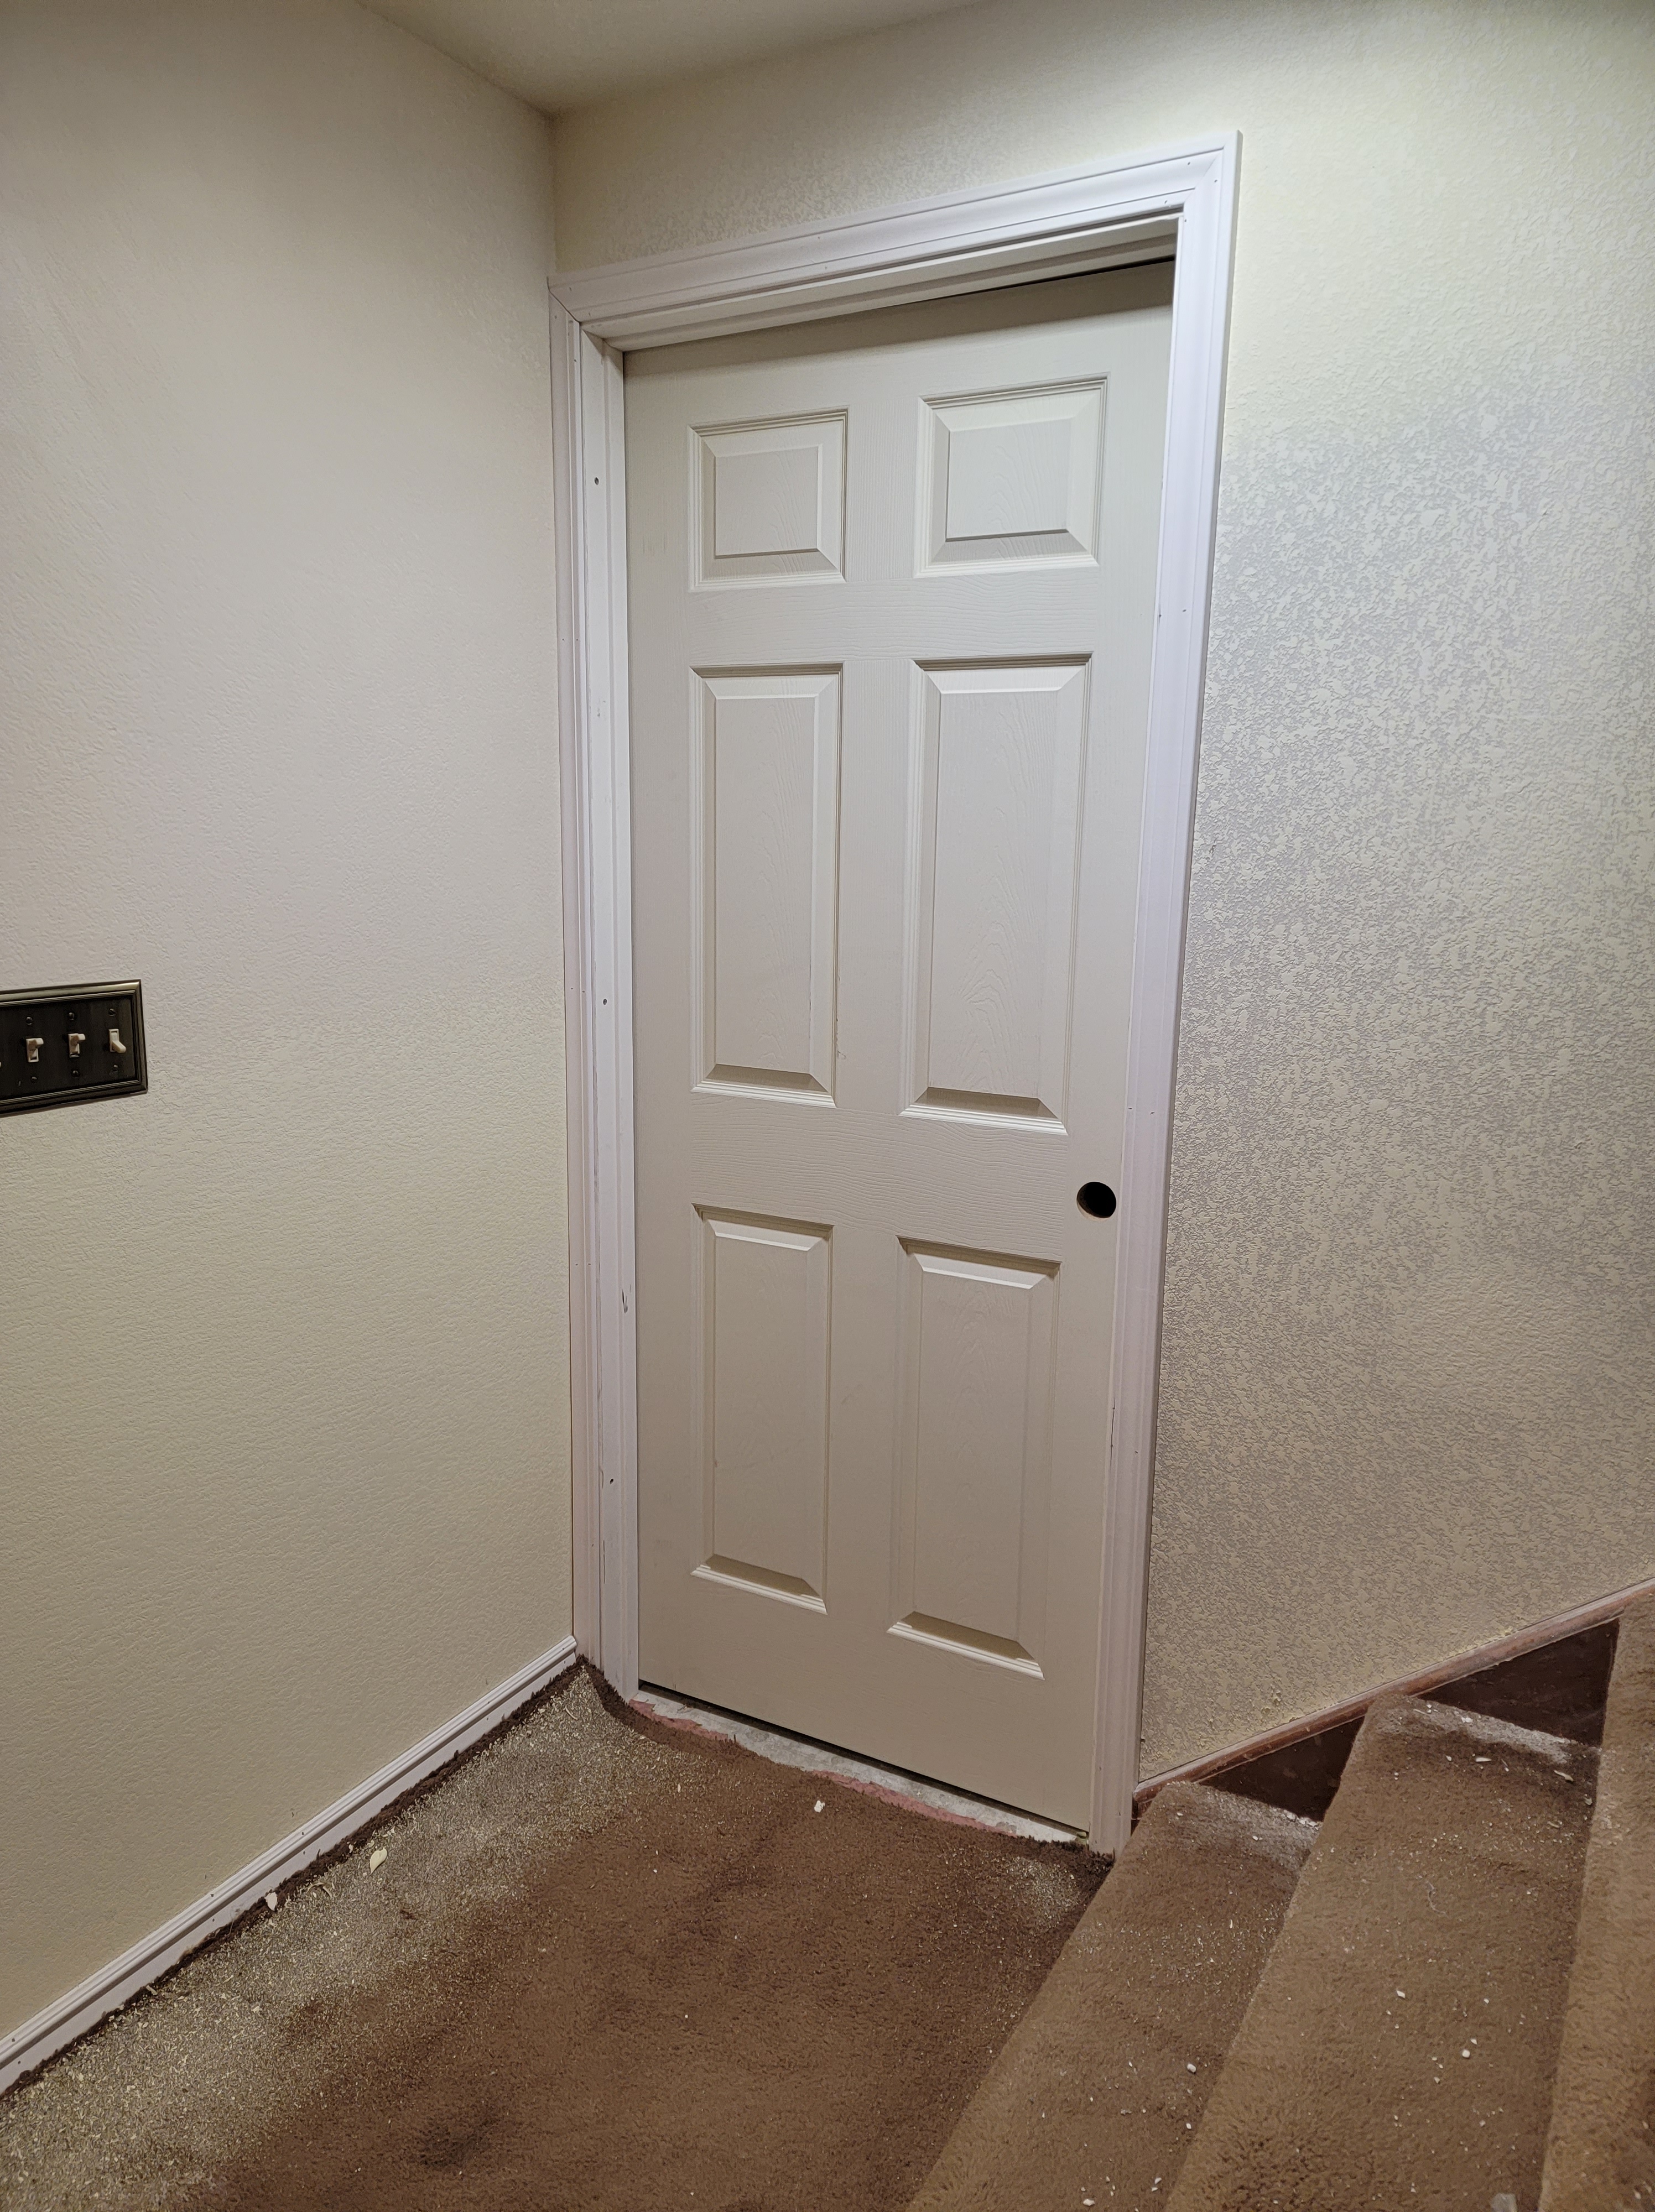
Casings: I placed 2 1/4″ casings around the doorways and below the temporary top-board on the shorter stair wall. Again, I wasn’t going for a perfect fit since these will be caulked and painted. Steps:
- I placed a 3/8″ spacer on the floor just below the casing location.
- I sat the side casing on top of the spacer, and marked the top for the cut.
- I removed the casing and spacer, and cut the appropriate 45-degree angle using the Bosch miter saw at the top of the side casing.
- I nailed the side casings in place using my awesome new DeWALT DCN680D1 18 Gauge Cordless Brad Nailer using 1 1/2 in. x 18-Gauge Straight Brad Nails.
- I measured the distance between the tops of the side casings and cut the top casings to this length. At first I thought I’d have to subtracts some length, but the fit was better using the exact measurement.
- I nailed the top casings in place.
Some tricky stuff….
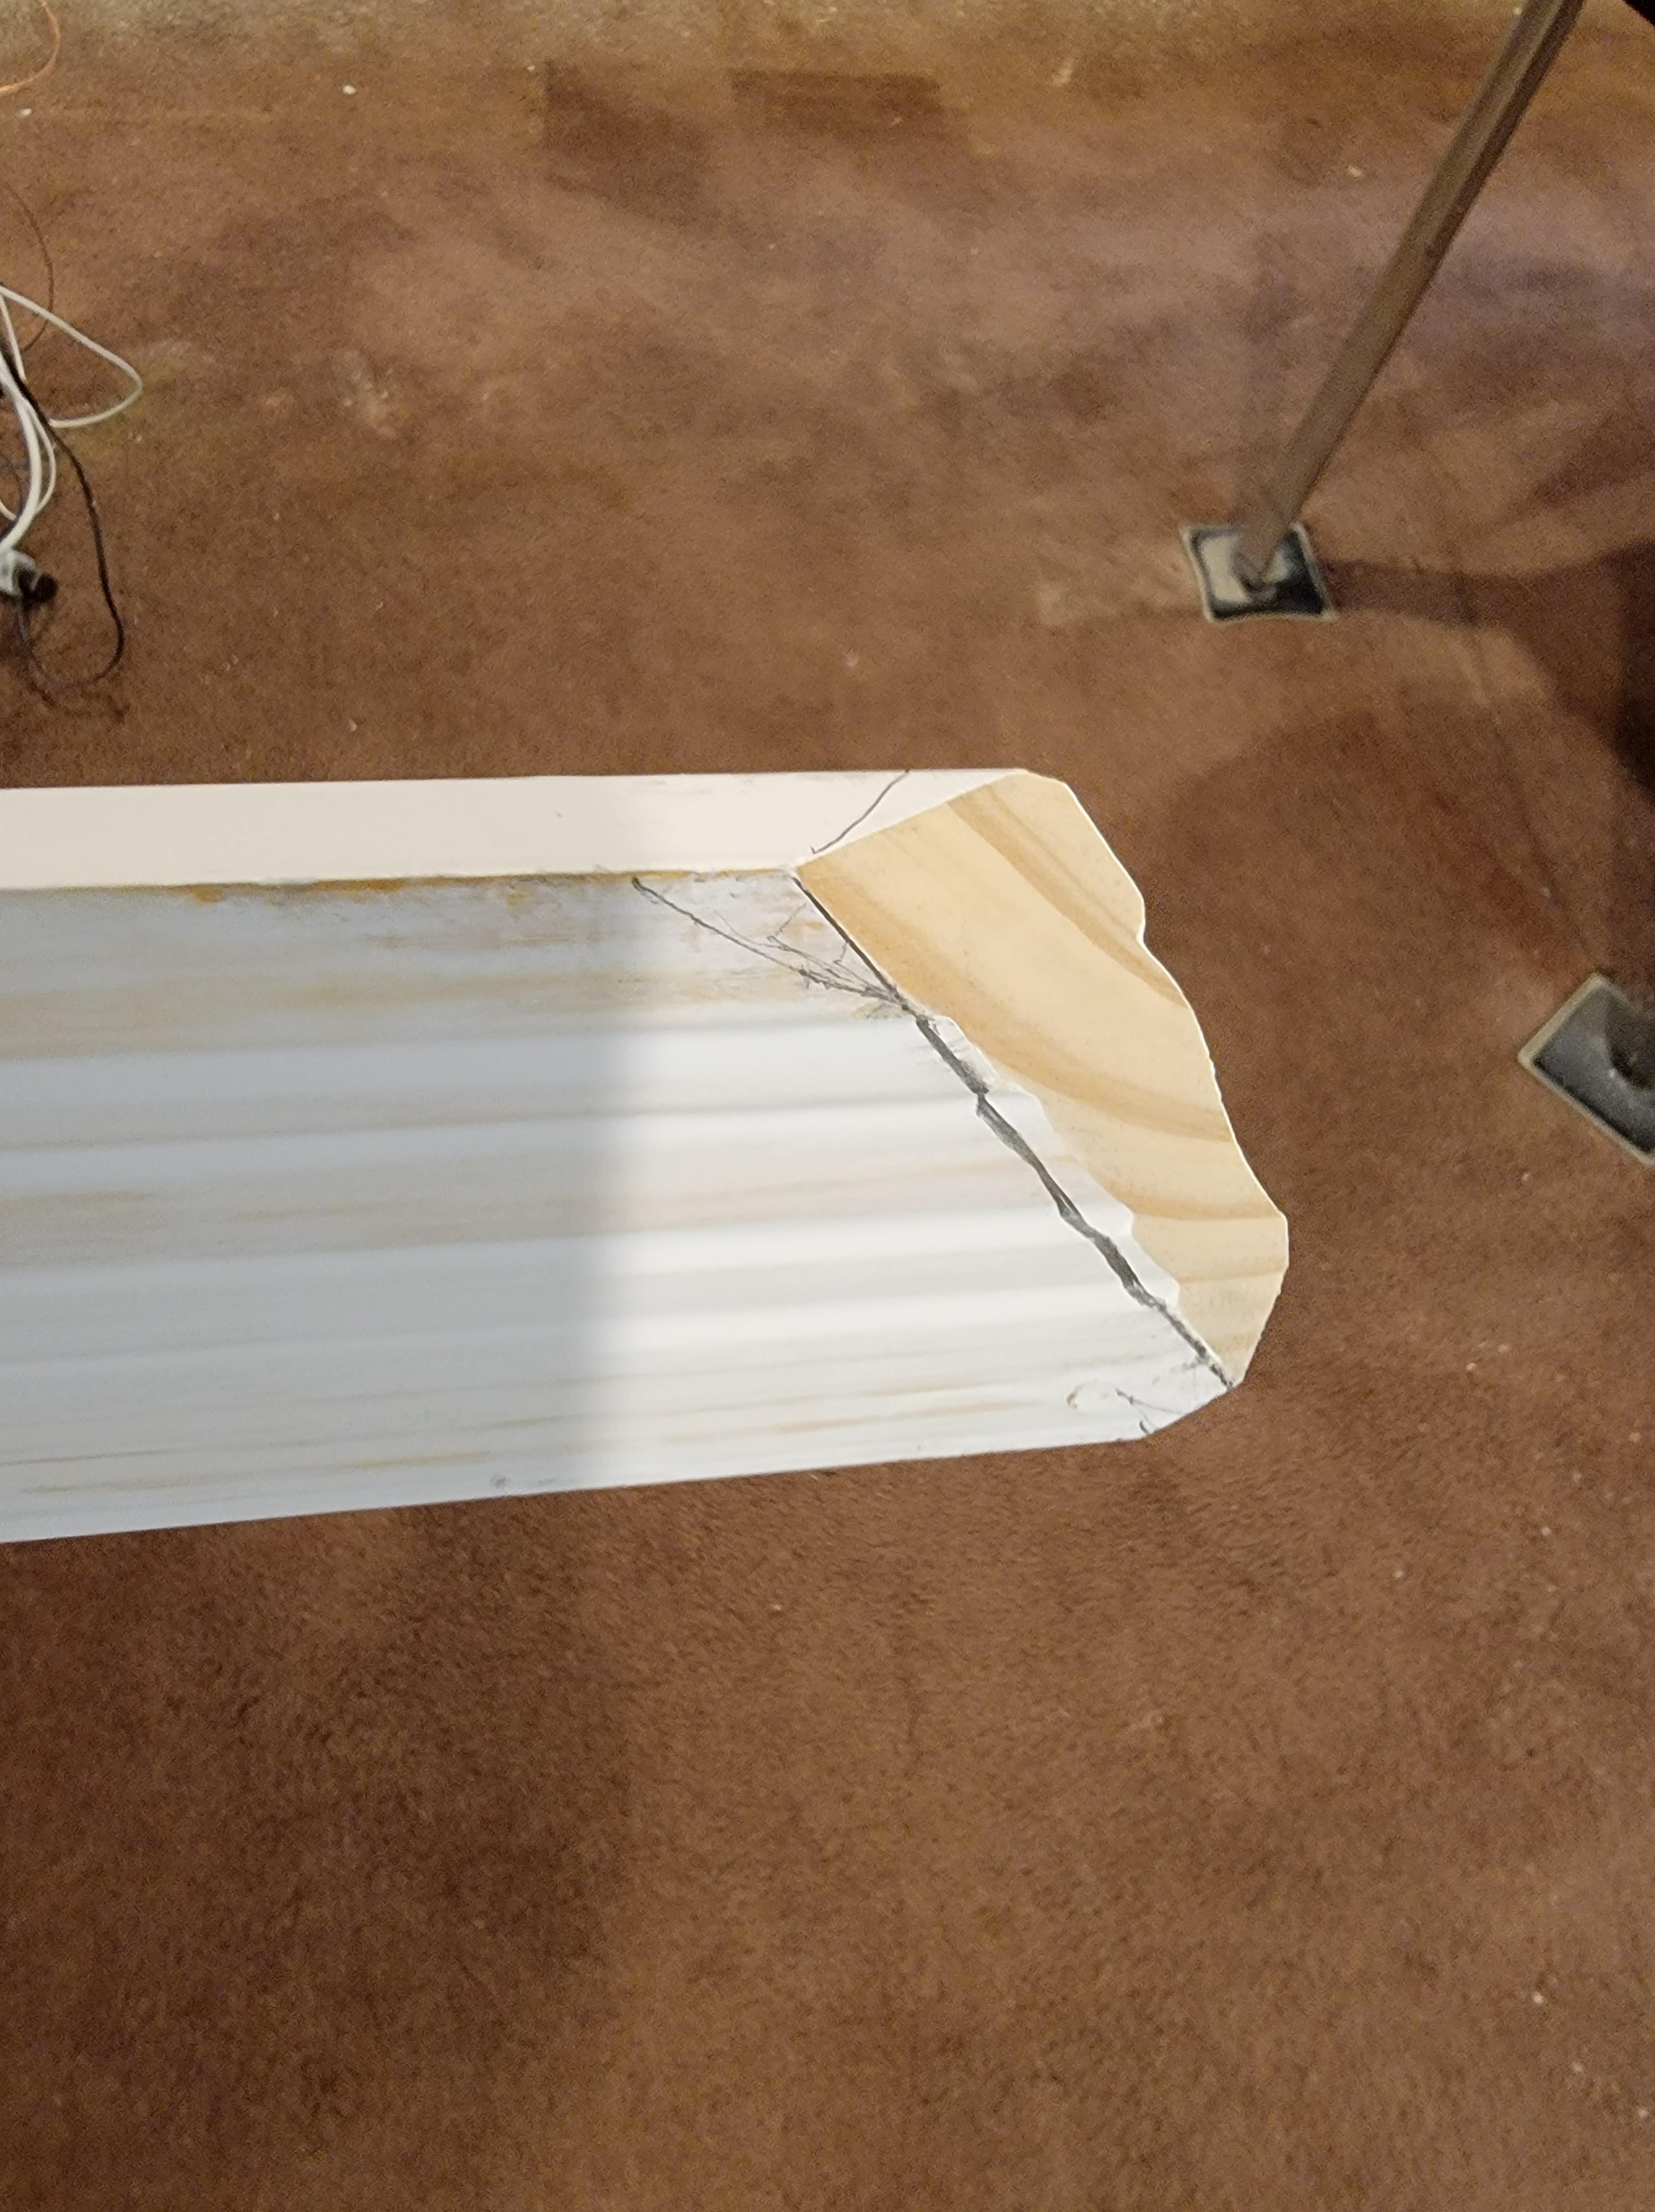
- The door’s left casing had to be narrowed since it was close to the wall. I ripped the width using my table saw, and cut the left tip off of the top casing accordingly.
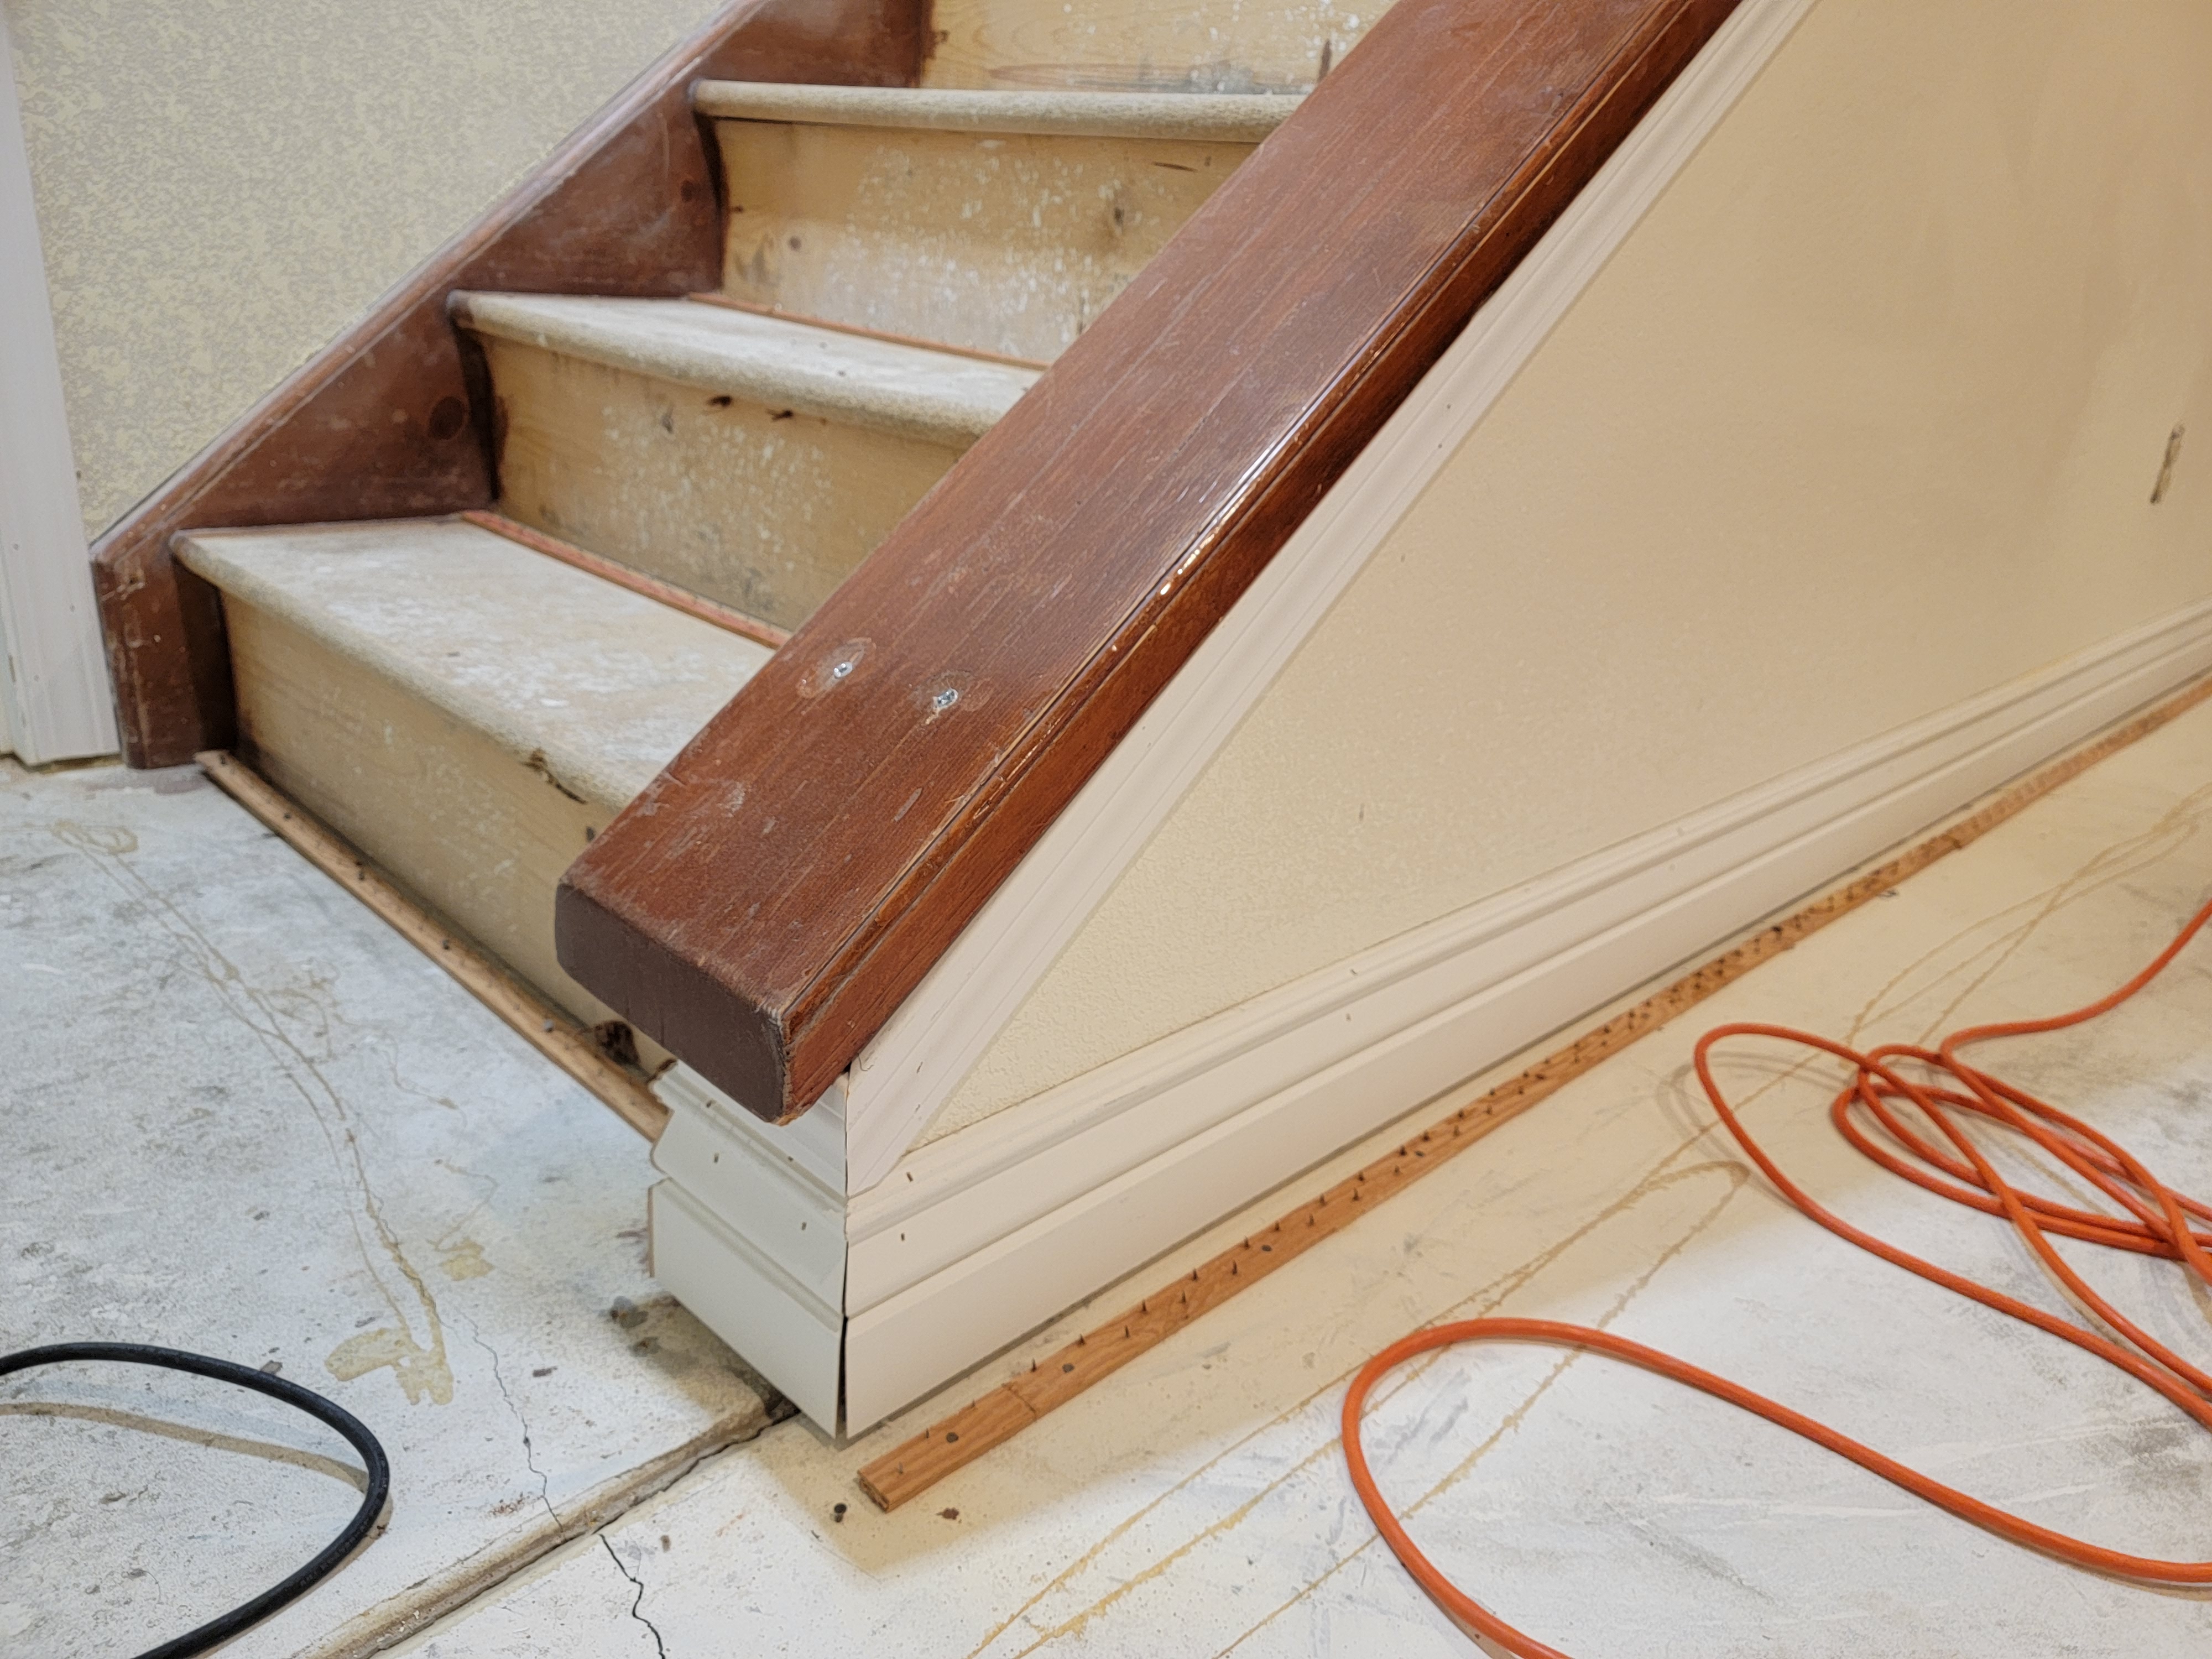
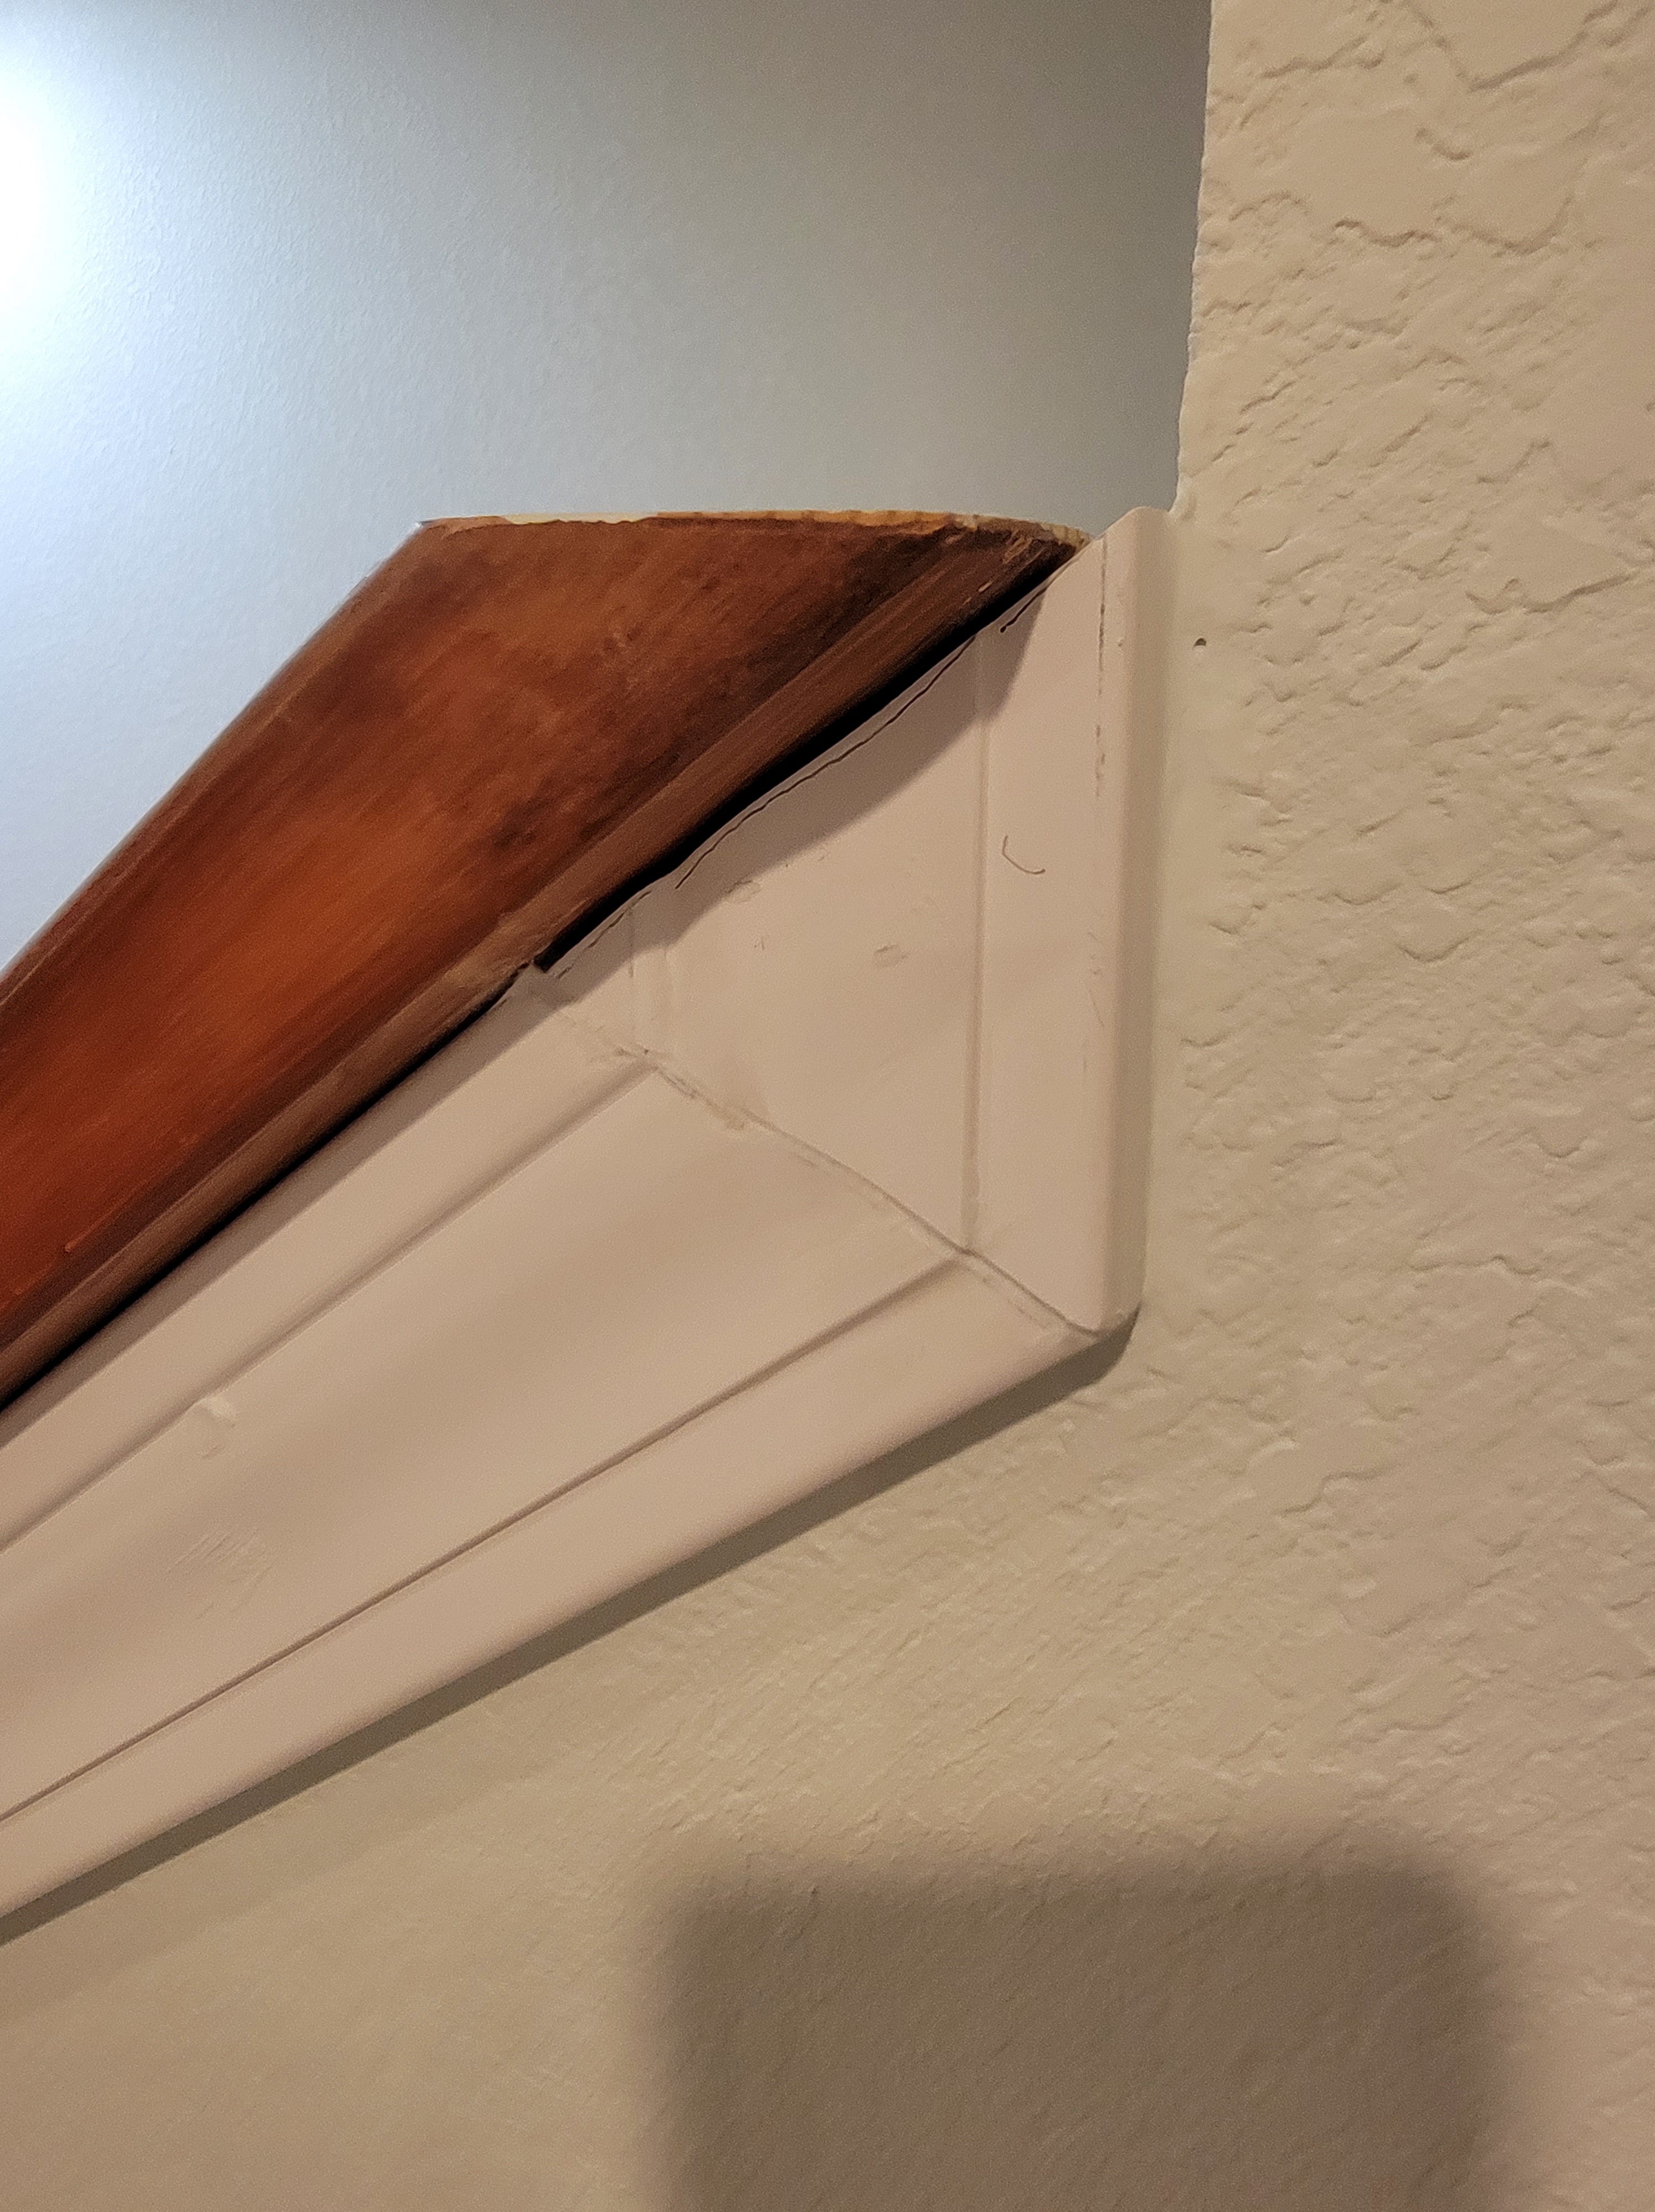
- I used the same molding below the temporary stair topper on the wall side of the lower stair wall (I’ll replace ugly brown top with something prettier when everything else is done). That meant a fancy angle cut at the bottom and an insert to finish the top.
- Bottom: I held the molding in place and drew a line at the wall corner. I adjusted the miter saw for that angle, then tilted at 45-degrees for the outer miter. Thus a fancy miter double-cut that worked perfectly (photo below).
- Top: I determined the full joining angle and halved it since each piece would need to be the same for the molding to align. A lot of trigonometry followed to determine the cuts for the small isosceles triangle filler at the very top of the wall molding. I’m sure we were taught tricks in high school geometry but I couldn’t remember them 😦
- The door to the utility room is nearly flush to the ceiling, which meant another ripped casing since 2 1/4″ was too wide. Again, the table saw easily took care of the challenge.
Photos are below: