
The Glowforge is an amazing tool for cutting, engraving, and etching thin wood, acrylic, leather, anodized metal, etc., but it’s not immediately obvious that it can also do the same with common thicker objects like wooden-handle utensils (pizza cutters, spatulas), etc. etc.
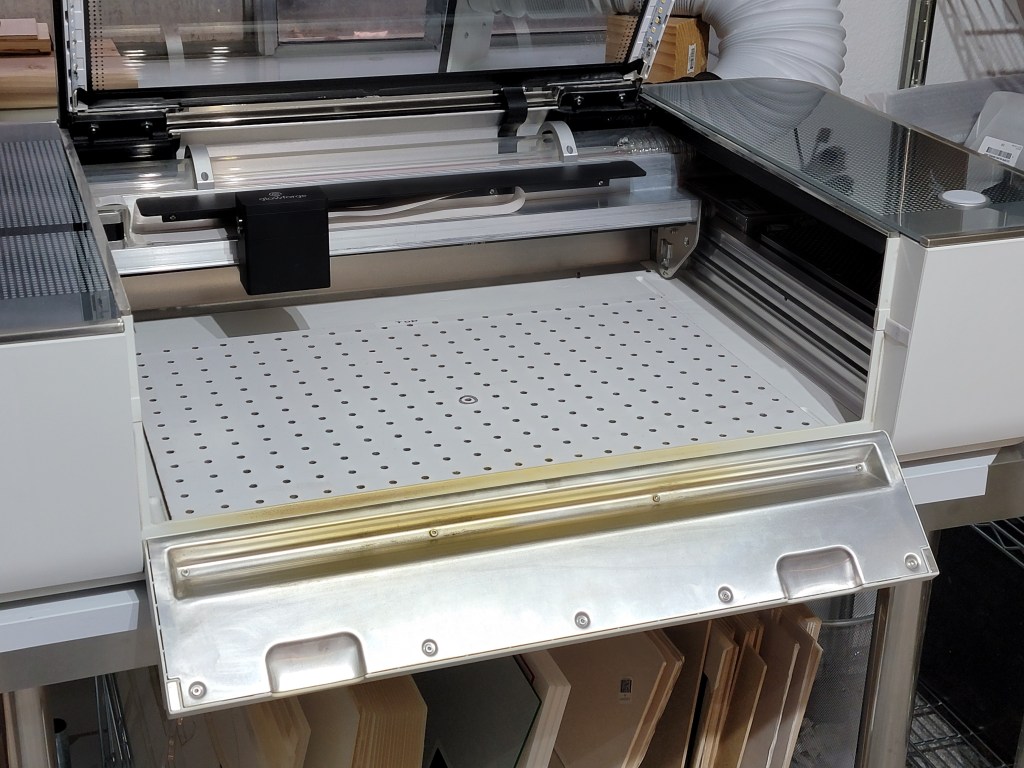
Thicker objects require removal of the Glowforge’s “crumb tray” to make room under the laser head. But what then? Yes, you can place objects directly on the glowforge’s metal “floor”, but that by itself doesn’t accommodate easy object alignment or provide an indicator for where the lid camera position is (to lessen oblique angles).
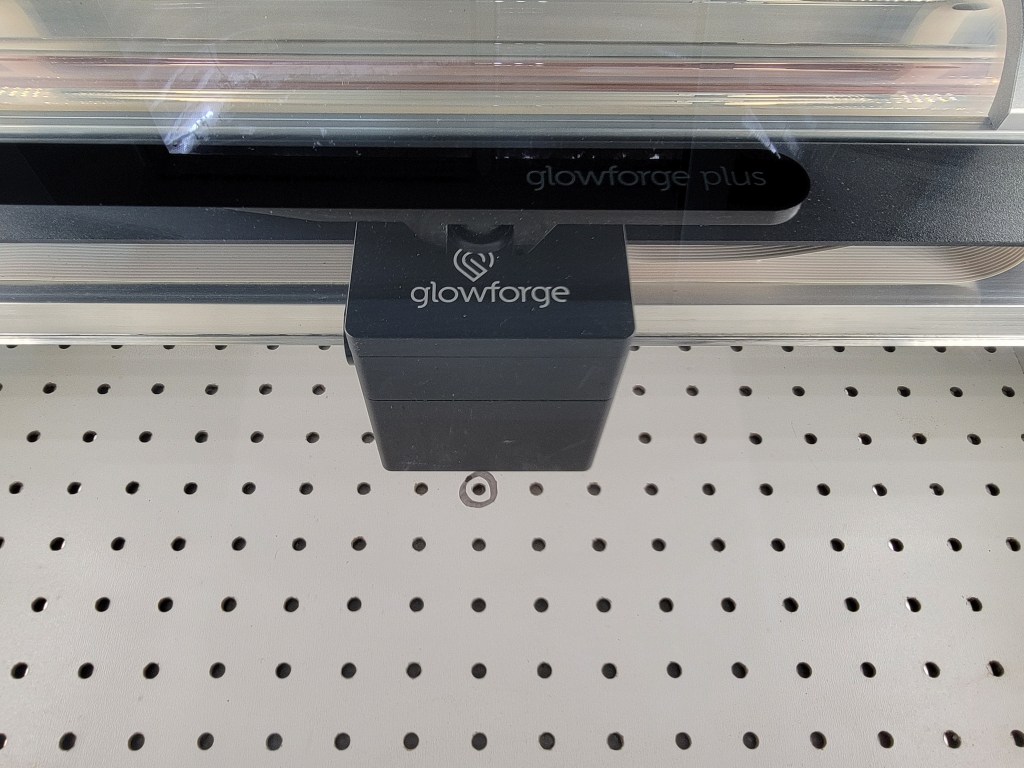
Solution: Place a piece of 14″ x 21″ pegboard on the glowforge’s metal floor (I used 24″ x 48″ white pegboard from the HomeDepot). Once in position I labeled the top, and circled the hole most immediately under the lid camera.
Advantages
- Pegboard provides a soft surface, reducing the likelihood of scratching the floor and your materials.
- Pegboard has a 1″ x 1″ grid, allowing for easy alignment of materials.
- The holes can be used for doglegs (pegs) to serve as material stops.
- It’s easy to write on and label for repeated projects (switch out pegboards for high volume frequent uses).
- Pegboard isn’t thick; it won’t significantly impact thicker materials.
But why stop there? I also use pegboard for my workshop’s workbench. It provides the advantages listed above, but it also prevents splinters if your workbench has a plywood surface 🙂

Happy forging!

One thought on “Pegboard Work Surfaces”